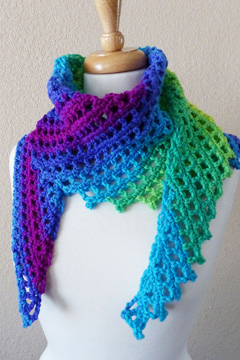
Improved Overlay Mosaic Crochet Video & Scarf Pattern
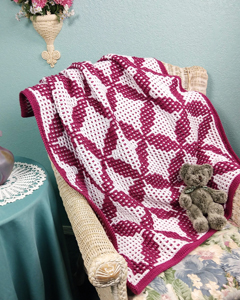
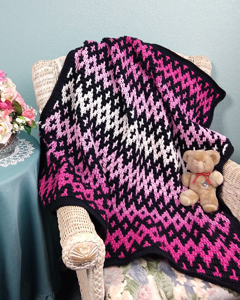
Mosaic Crochet is one of my favorite crochet techniques. Have you heard of Mosaic Crochet before? It’s an absolutely wonderful crochet technique! With Mosaic Crochet, you can create something that looks much more complicated than it actually is! There are several styles of Mosaic Crochet. The Overlay Mosaic Crochet style is worked in alternating rows of a dark color and a light color (only one color of yarn is used in each row). Each row is worked on the right side, so each row starts and stops (joins and finishes off), creating ends/tails at the beginning and end of each row. I like to turn these ends into fringe, especially when making a Mosaic Crochet scarf. Then there are no ends to weave in on the project!

If you’d like to learn this fabulous crochet technique, I have a new YouTube video teaching the Overlay Mosaic Crochet technique. Check it out and let me know what you think! In this video, you’ll learn everything you need to know while crocheting a swatch along with me (there’s a free chart that goes with the video, as well). Then you’ll be successful with your Overlay Mosaic Crochet projects!
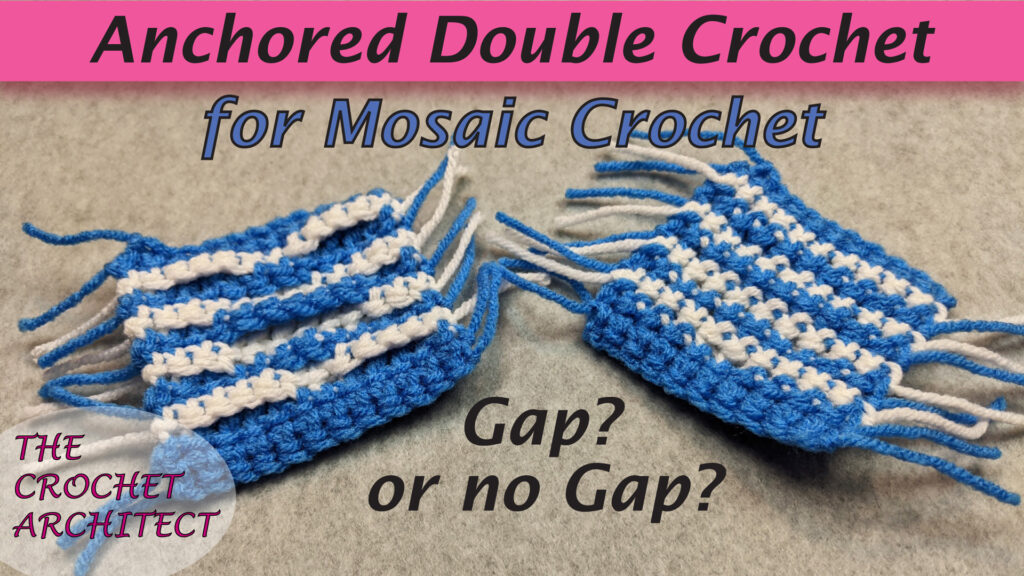
My style of Overlay Mosaic Crochet differs from other designers because I use an Anchored double crochet (Adc) stitch instead of a regular double crochet (dc). This eliminates gaps on the back of the mosaic piece and gives it more stability. You can learn the Adc in my “Improved Overlay Mosaic Crochet” YouTube video, as well as in my separate “Anchored Double Crochet” YouTube video for more success with your Overlay Mosaic Crochet projects.
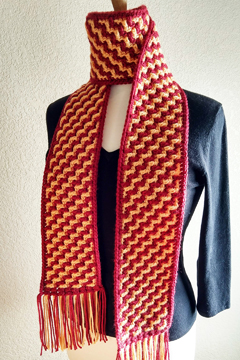
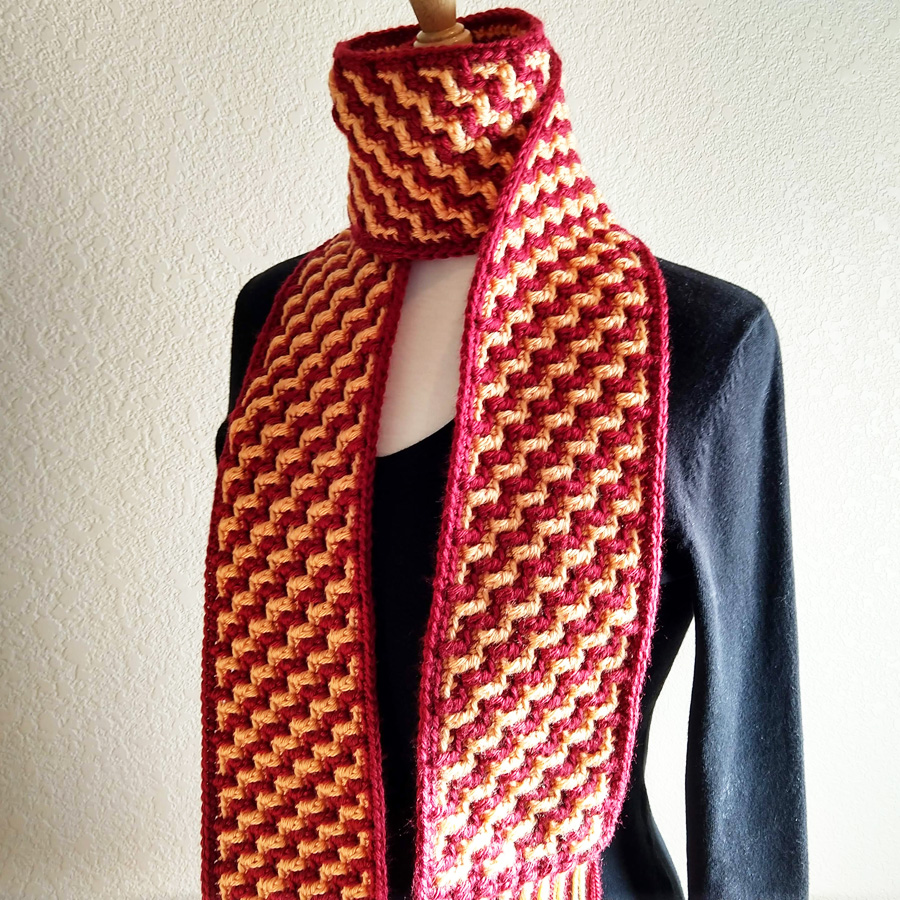
While planning and creating this video, I decided to design another Mosaic Crochet Scarf pattern for your enjoyment. It’s been many years since I designed my first Mosaic Crochet Scarf pattern. They’re so much fun to crochet and wear! Since this new mosaic pattern looks like stairs, I’ve called it the “Flight of Stairs Scarf”. This scarf is easy to make, following the written instructions and the included charts in the pattern. It’s made similarly to the mosaic swatch in the video with a few differences. If you can crochet the swatch from the video, I’m sure you’ll be successful in crocheting this scarf!
If you’ve never done Mosaic Crochet before, give it a try! You’ll be glad you did!
Happy New Year and Happy Crocheting!
Susan
Free Baby Booties and Beginner Scarves Pattern
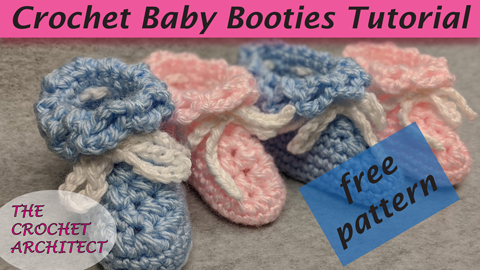
If you’ve always wanted to learn to crochet baby booties, then now is the time! I have a new YouTube video that goes along with my FREE Baby Booties pattern where I teach how to make these baby booties from start to finish! They are great projects to make quickly for a baby shower. Or make some for a local charity, or for your own baby!
The other new YouTube video I’ve made is for crocheting a beginner-friendly scarf. This scarf is made with rows of dc throughout. I’ll teach you where to begin and end your rows of dc and share a tip to help you keep the edges even. I’ve got a FREE crochet pattern that goes along with this video, as well. This project is great for practicing your double crochet stitches.
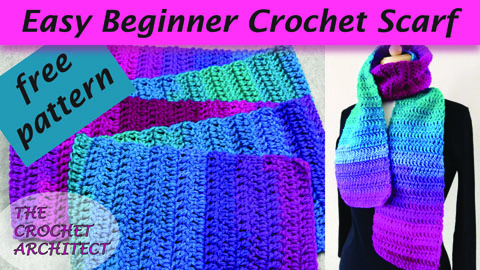
I hope you enjoy both of these videos and learn something new to further your crochet skills and knowledge!
Happy crocheting,
Susan
Mosaic Crochet Cuffs on Family Slippers Pattern
I’ve just finished and released my first video to support one of my self-published crochet patterns. This video is for my Family Slippers pattern. The cuff is made with the mosaic crochet technique, which is one of my favorite crochet techniques! In this video, I demonstrate how to crochet the 4 rows of the mosaic pattern on the cuff. Mosaic crochet is a lot of fun and it’s exciting to see the mosaic pattern take shape in front of your eyes!!!
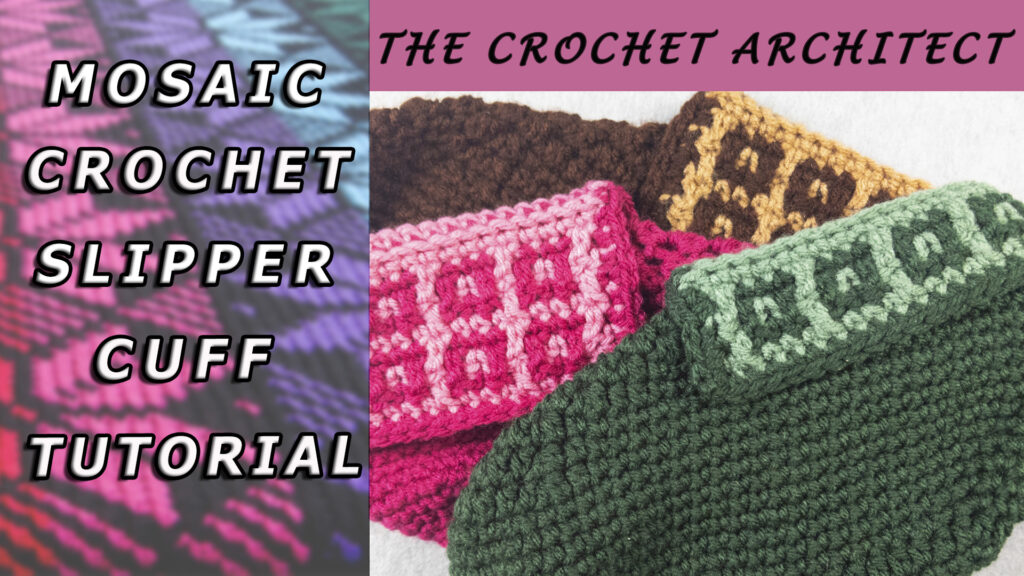
I have lots of other crochet videos planned to help you be successful with your crochet projects from my patterns. If you have any questions about my patterns (or certain parts of my patterns) that you’d like to see covered in a video, please let me know. I’m open to more video suggestions and look forward to bringing you more quality videos to help you advance your crochet skills and knowledge!
If you’d like to watch this new video, you can find it on my YouTube channel here.
Happy crocheting (and video watching/learning) to all of you!
Susan
FREE Easy Beginner Crochet Project & Videos
If you’re a beginner crocheter (or just like to crochet quick, easy projects), I have a FREE beginner coaster pattern, along with 2 YouTube videos for you. This coaster is an easy, beginner pattern that anyone can successfully make. In the 2 videos, I teach you how to do the center of the coaster in rows of single crochet. I also teach you to add any of the 4 edging options to your coasters: 1 round of sc, 3 rounds of sc, corner beads and tassels or side fringe. Here’s a look at the coasters in the video:
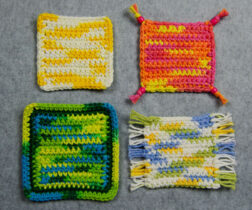
As you can see, you can make your coasters in any colors you like. I’ve chosen different colors for the coasters in this FREE pattern to make each of these 4 different coaster finishes distinct! However, I made a set of coasters for our home in colors that coordinate with our living room.
These coasters make great gifts and are very economical to make. One skein of yarn, that costs around $2 – $3, is all you need to make a set of 4 coasters.
You can find the 2 new FREE YouTube videos on my YouTube crochet channel. And you can find the link for the FREE pdf pattern download on my Free Patterns page.
I hope you’ll give these easy, beginner coasters a try. Please let me know if you like this coaster pattern and if you have any questions about the pattern, please don’t hesitate to ask. I’d love to see photos of your finished projects!
Happy crocheting,
Susan
New Crochet Pattern: Polish Stars Pot Holder
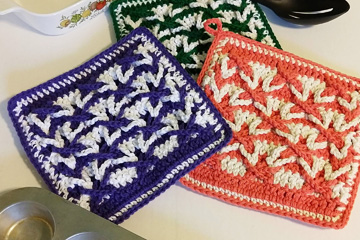
I’ve been meaning to publish this pot holder pattern for several years, but everyday life has been getting in the way! That’s not a great excuse, but I’m going to run with it!
I first learned to do the Polish Stars crochet technique many years ago. I can’t remember if I took a class or learned it through a pattern. The original way to work the Polish Stars technique was a little jumbled (in my opinion), so I made a little adjustment to the technique, making it easier to do!
I’ve seen a few videos on this technique. In one of them, the stars are woven incorrectly, making the end result look pretty bad! So I decided I’d better add more information and a weaving diagram to the instructions in this pattern to make it easier to learn the technique and execute it correctly. I plan to make crochet videos in the near future (God willing) to help others with their crochet skills and knowledge. This is one of the techniques I’ll cover in those videos.
If you’ve never done the Polish Stars technique, let me tell you a little about it. Basically, you crochet rows of stitches with 2 solid contrasting colors, alternating the color on every row (I’ve used extended double crochets in this pot holder, which I explain how to make in the pattern: they’re between the height of a dc and a tr). Within those rows of stitches, you work chain loops per the instructions. When the instructions say to weave the loops, you do that, then you crochet the last row of the pattern, which secures the chain loops in place.
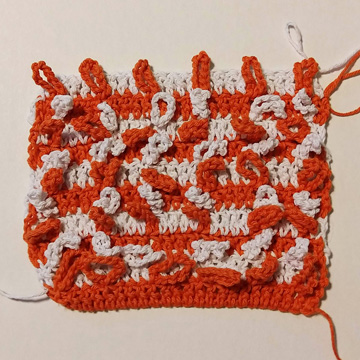
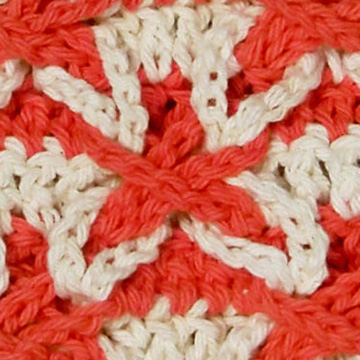
Like I said, I’ve included a weaving diagram in this pattern, which shows how each chain loop is woven into the appropriate adjacent chain loop. There are also detailed written instructions for weaving the chain loops.
Since I LOVE symbol crochet charts, I included one of those for the front of the pot holder, for those who also enjoy working from a symbol crochet chart.
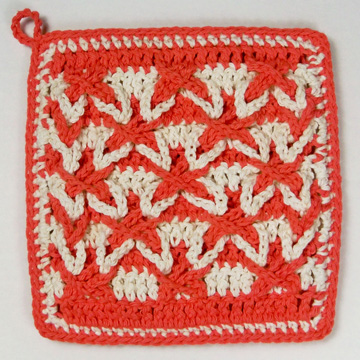
I included 2 layers in this pot holder design. The front has the stars and the back has stripes to mimic the colors of the rows worked on the front. However, there are no chain loops on the back. The purpose for the back piece is to make the pot holder thicker and eliminate holes that fingers can go through. With 2 layers of cotton yarn, the pot holder is safe to use in the oven (no fingers will go through to touch hot casserole dishes, cookie trays, etc).
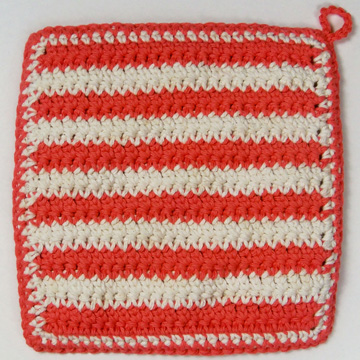
I hope you’ve enjoyed this look at my Polish Stars Pot Holder pattern and that you feel more confident to give this crochet technique a try very soon! If you’d like to give this a try and make a unique pot holder, check out the pattern here.
Happy crocheting,
Susan
New Crochet Pattern for Winter!
It’s that time of year when we start wearing lots of accessories to help keep us warm (here in the Northern Hemisphere)! I sometimes wear a scarf or cowl inside my house to help keep my neck warm, which helps keep my whole body warm (my house isn’t that cold, but I often get cold)!
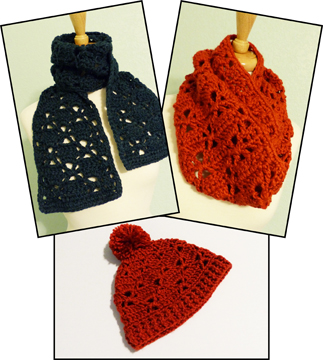
I’ve been working on new designs lately and I just finalized a pattern for a scarf, cowl and hat. This new pattern is called “Scarfie, Cowlie & Hattie”. I named this pattern after the yarn that I originally used to make a cowl and hat set for my daughter-in-law and a scarf and hat set for a friend of hers. I used Lion Brand Scarfie yarn for those projects, which took only 1 skein of yarn for each of the 2 projects (scarf and hat or cowl and hat). Because that yarn didn’t photograph as well as I’d hoped for the pattern photos (and because I wanted to test and fine-tune the pattern), I crocheted more of these accessories. Who doesn’t love wearing more accessories or giving them to others?
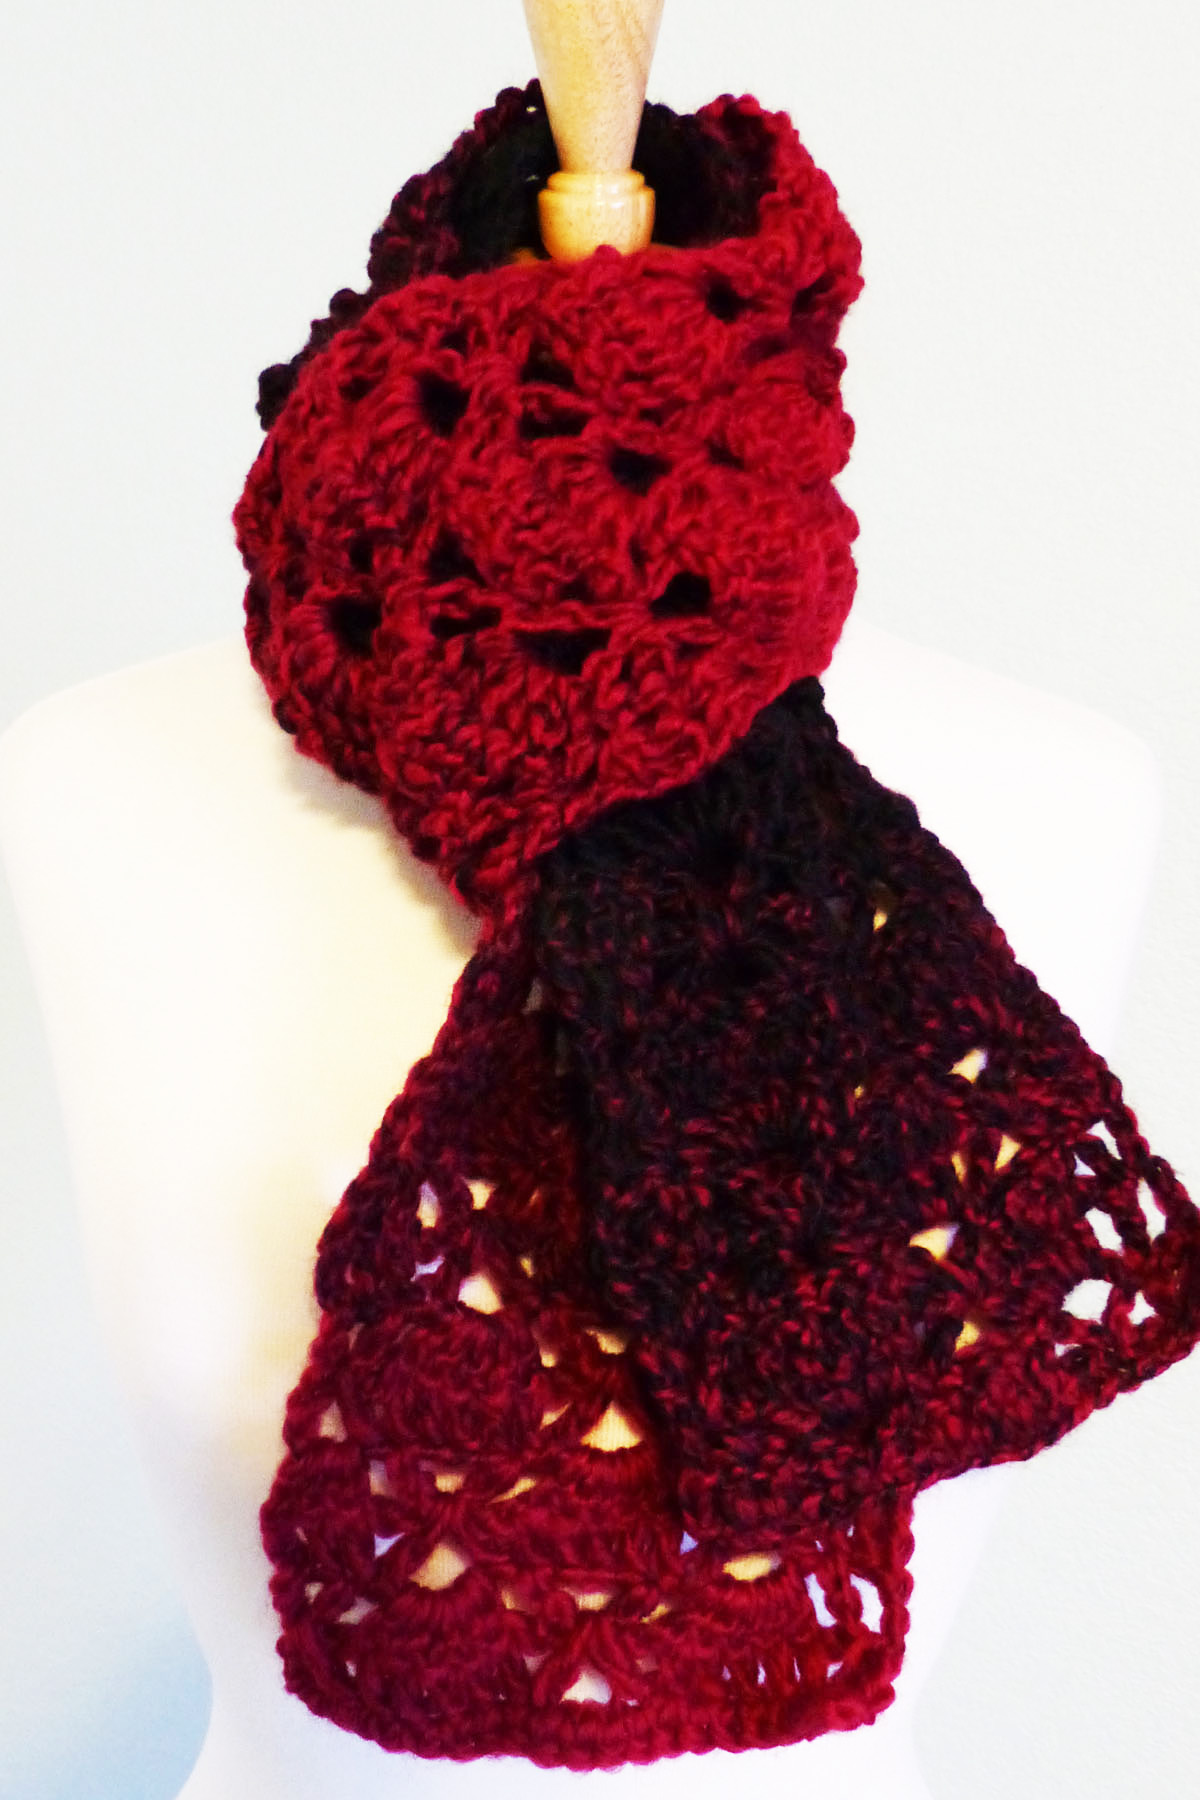

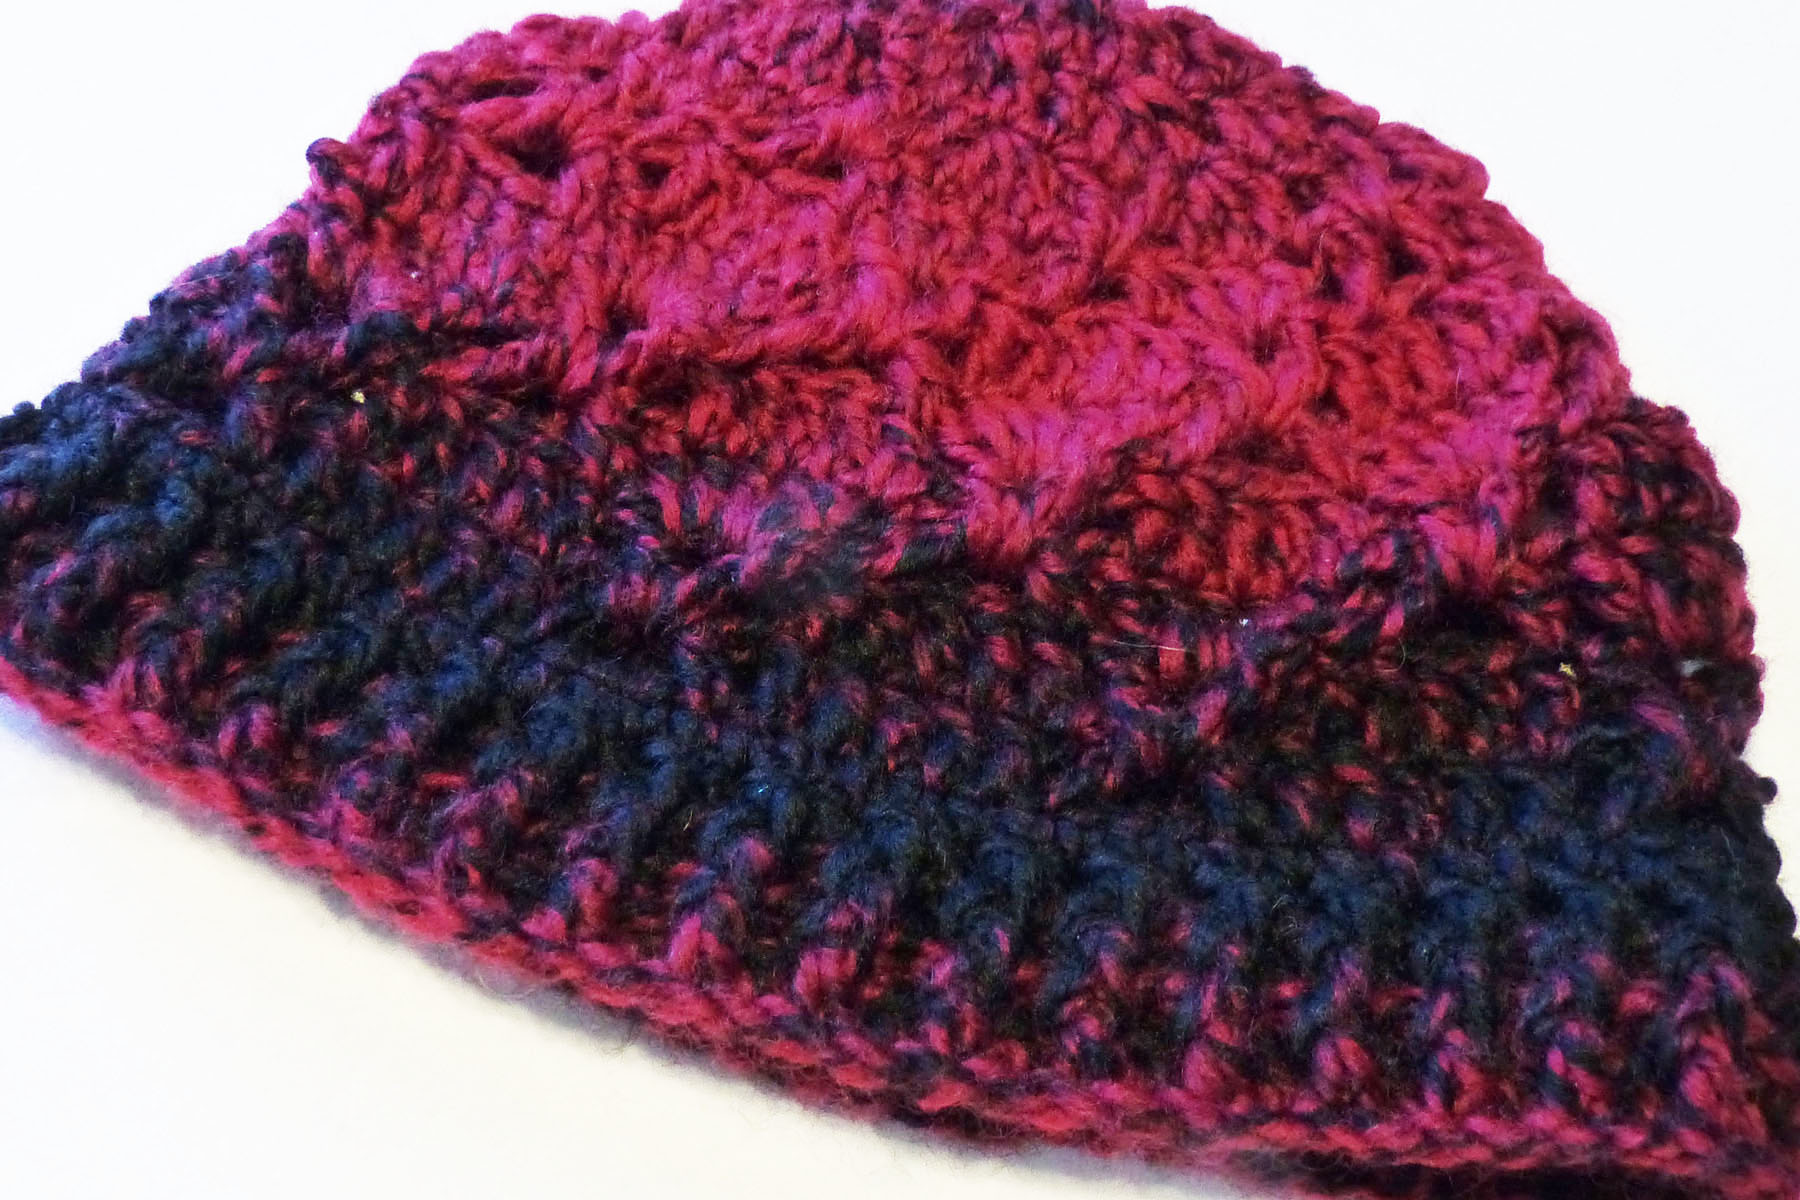
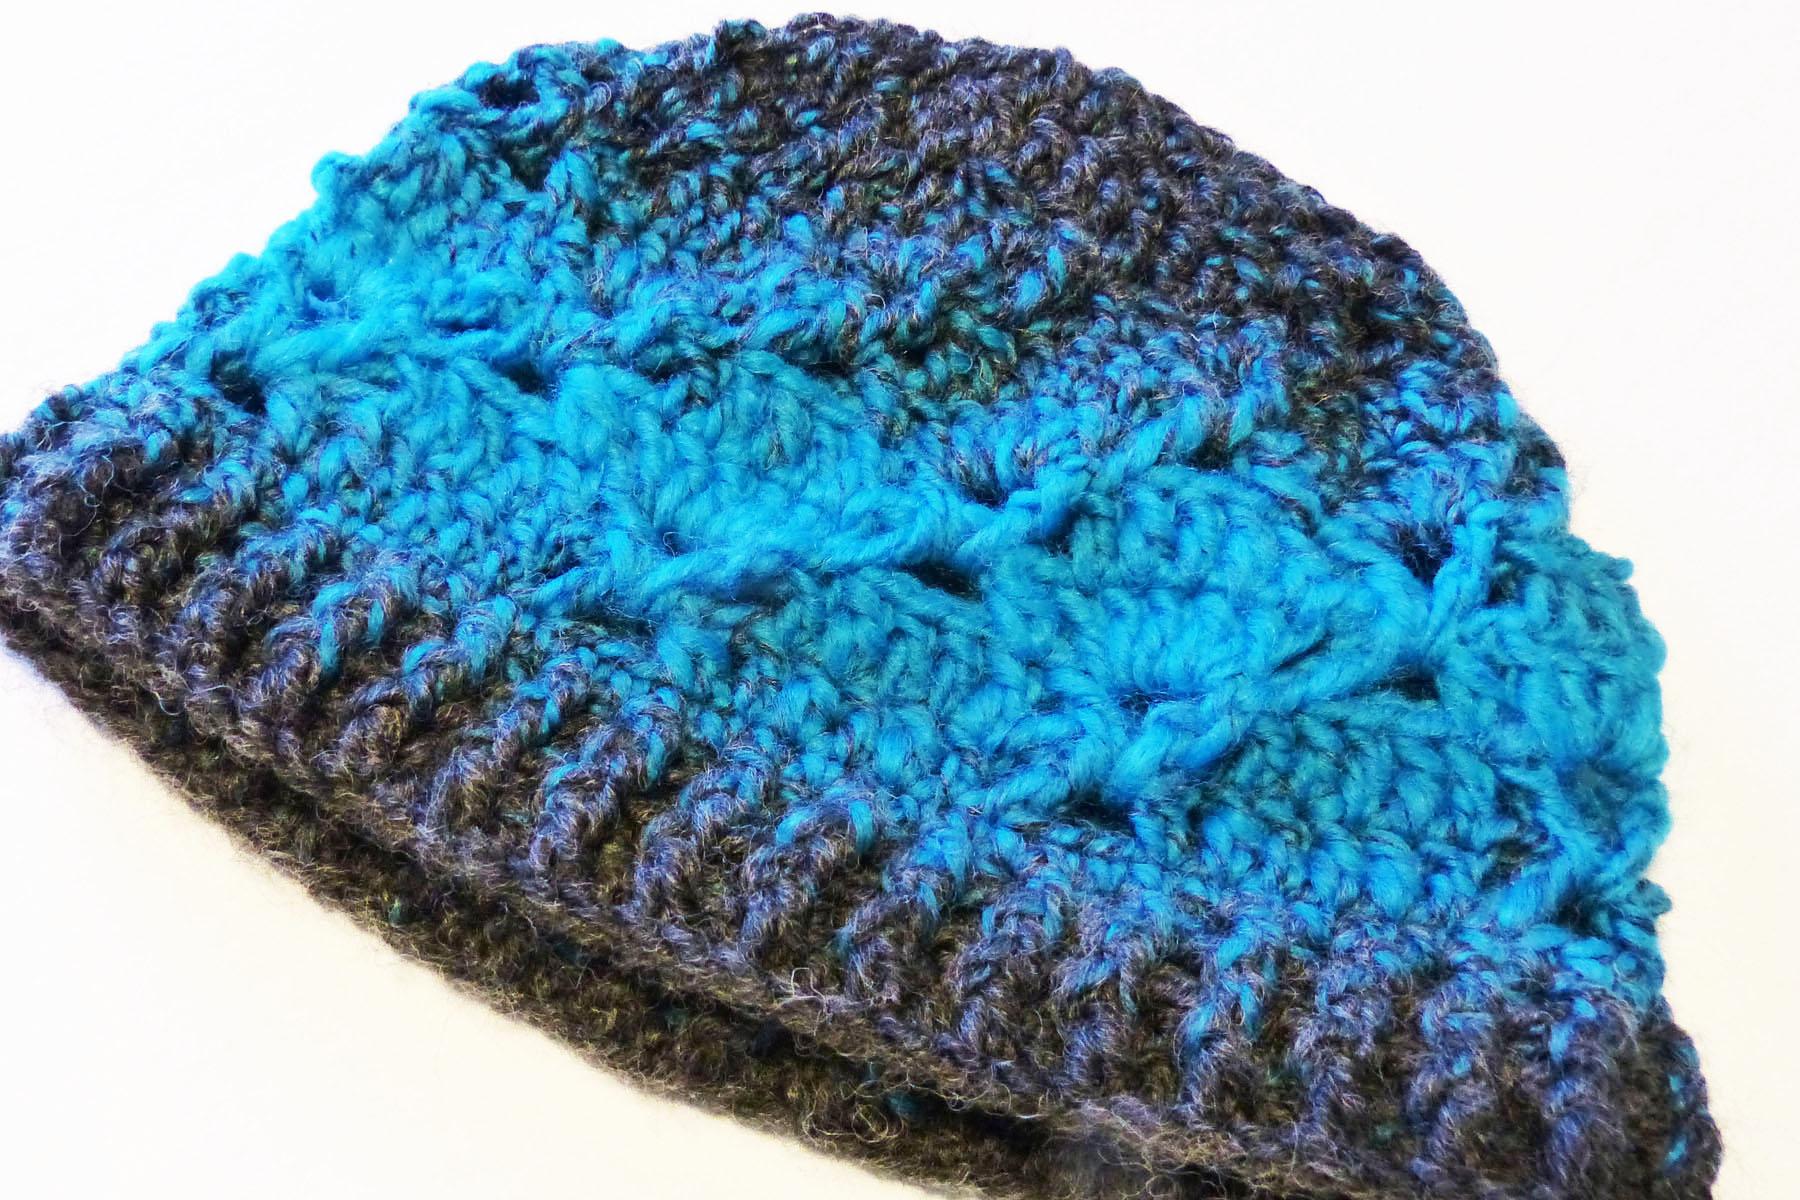
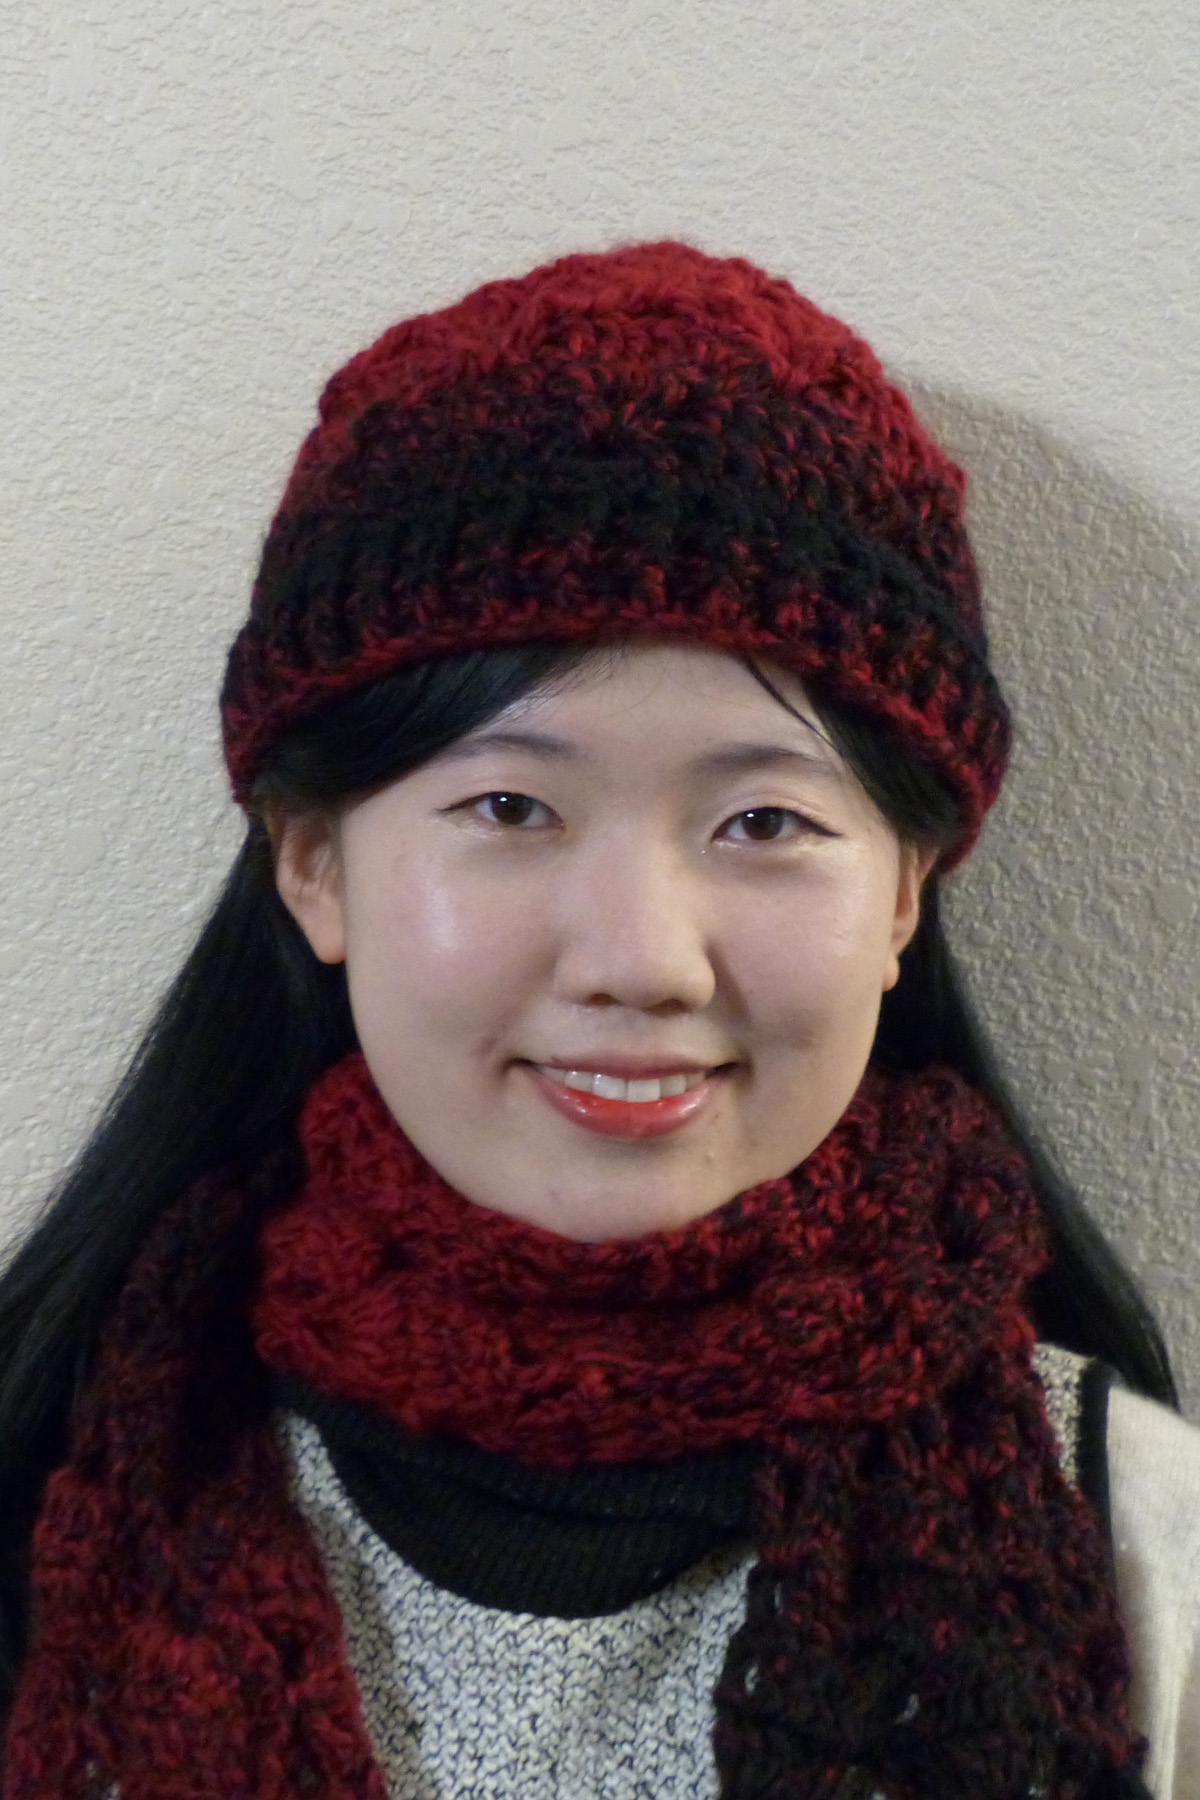
The pattern is written in both US and UK crochet terms, so you can choose which pattern to download based on which crochet terms you’re used to using. If you like this feature of having my patterns available in UK crochet terms, please let me know and I’ll update my other published crochet patterns to include UK crochet terms. I want my patterns to be as user-friendly as possible!
I’ve included written instructions and symbol crochet charts for each of the 3 projects in the pattern, which is available for $5.95 (that’s just shy of $2 per project!). For more information about this pattern, check it out on the pattern page.
I hope you’re staying warm wherever you live!
Happy crocheting,
Susan
Another new Annie’s video!
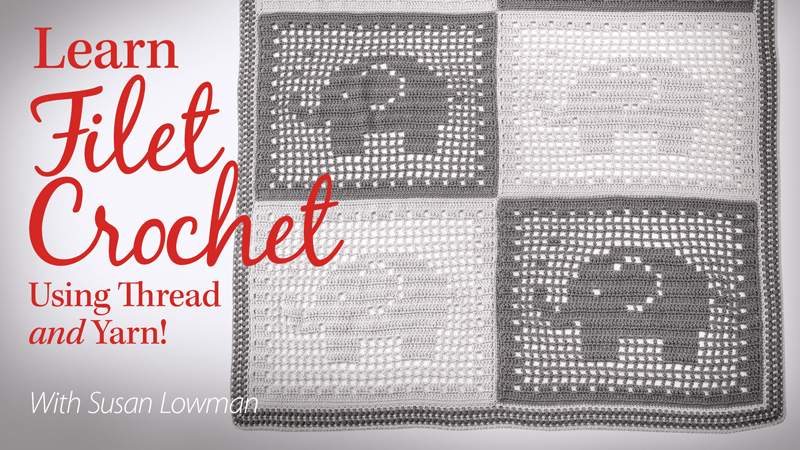
I have another announcement for you this month! It’s my newest Annie’s crochet video class: “Learn Filet Crochet Using Thread and Yarn!”.
Filet Crochet is such a great crochet technique! I’ve been doing Filet Crochet for several decades now! I’ve designed a bunch of Filet Crochet patterns and taught this technique at the CGOA Conference many times, as well as at the 2018 Interweave Yarn Fest. I LOVE Filet Crochet! You can crochet so many different kinds of things with it! You can combine it with other crochet techniques, as well.
Here are a few of the designs I’ve done over the years, some simple and others more complex:
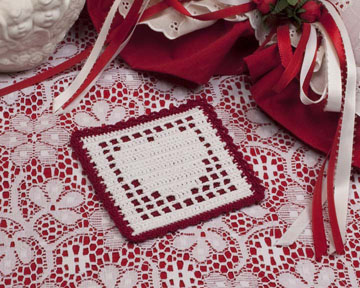
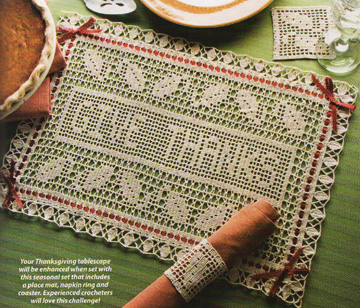
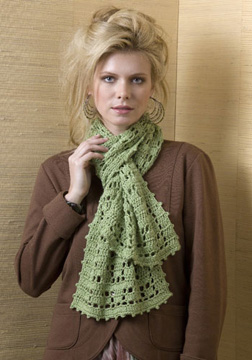

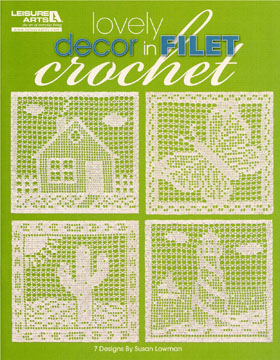
If you’d like to see all of my published Filet Crochet designs in the past 20+ years, check out this Ravelry search. Most of these designs are done with crochet thread, but a few of them are done with yarn. If you’re interested in the Europa Scarf, which I designed in 2010 with Naturally Caron Spa yarn (a now discontinued yarn), you can download the free pattern here. You can also download several free Filet Crochet patterns on the Red Heart website.
No matter what you use for filet crochet, the technique is the same! It’s just the size of the yarn/thread and hook that makes the difference (and, of course, the pattern)!
This Filet Crochet video was filmed at the same time as my other new video, “Crochet ER: Fixing Damage & Mistakes”, which came out last month. You can read all about that video in my previous blog post here.
Here are a few photos from filming this new Filet Crochet video:
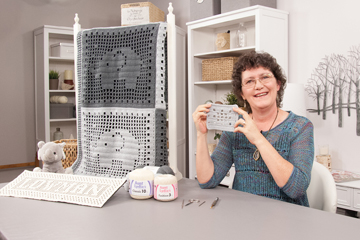
And here are the 2 class projects from my new Filet Crochet class that you’ll be able to make when you sign up for this class:
In this class, I teach how to work the closed mesh, open mesh and lacets that comprise Filet Crochet patterns. I also teach how to read and follow Filet Crochet charts, as well as how to calculate the number of chains in the starting chain for a Filet Crochet pattern that is only charted (not written). And I teach 2 ways to make your Filet Crochet mesh more square.
The first thing we work on in the class is a practice swatch. With this swatch, you will learn to work the open and closed Filet mesh, as well as lacets. You’ll also get practice following a Filet Crochet chart. Once you’ve mastered the swatch, you can move on to make either or both of the class projects: the Filet Elephant Baby Blanket and the Filet Name Banner.
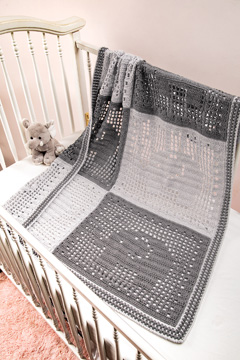
The Filet Elephant Baby Blanket pattern includes written instructions and a Filet Crochet chart. In the video, I demonstrate how to make the elephant blocks, as well as how to join the blocks to create the blanket. There are 2 edging options, which are both demonstrated in the video, along with the special stitches used in each edging. Because this blanket is made with yarn, it’s a great way to learn to do Filet Crochet (without any intimidation that using crochet thread and small steel hooks might present!).
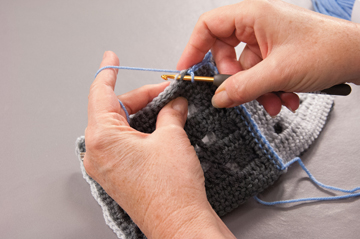
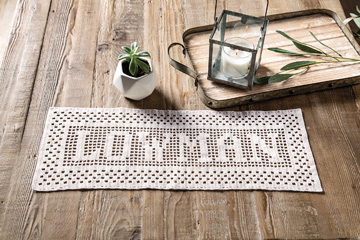
The Filet Name Banner pattern includes a chart for the whole alphabet, as well as the edging, so you can make any name or word you’d like for your Filet Banner. In the video, I demonstrate how to make your customized chart for the name or word you choose to crochet. Then I demonstrate how to crochet several of the rows, following your custom chart.
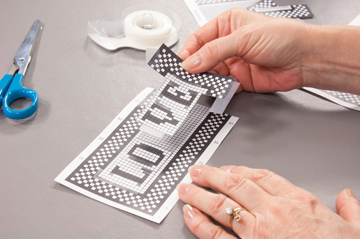
You can get creative with how you’ll use your Filet Name Banner. You may want to use it as is or mount it in some way. To give you an idea of how you may want to mount your banner, here’s a photo of another Filet Name Banner that I crocheted many years ago showing how I mounted the filet piece on some fabric and hung it on the wall with a painted wooden dowel:
If you’re not comfortable using crochet thread and you’d like to learn to crochet with thread, you may want to check out my other crochet video class with Annie’s called “Learn to Crochet With Thread”. In this thread crochet class, my goal is to help you feel comfortable using crochet thread for your crochet projects. Who knows? You may come to love thread crochet as much as I do!
I hope you’ve enjoyed this look at my new Filet Crochet class for Annie’s! If you’d like to take a look at this video class, as well as watch the free class overview and introduction segments, check it out HERE (Note: This is an affiliate link, so if you click on this link and purchase the video through the link, I’ll receive a small commission to help compensate me for my hard work! It won’t cost you any extra to purchase the video through this link and I would appreciate your support!).
I hope you’ve enjoyed this look at my new Annie’s video class!
Happy Filet Crocheting,
Susan
Christmas Gift
Merry Christmas and Happy Holidays to all! I hope you’re all enjoying some wonderful time with your families and friends. I’ve been taking part in the Indie Design Gift-a-long on Ravelry and having a great time! I’ve finished 7 projects and I have one remaining project to finish by the end of the year to complete an Opadoo (I should be able to make it in time)! To learn more about the Gift-a-long, check out the Ravelry group here. To find out more about my finished projects (like the yarns I used and links to the designer’s pattern pages), check out my projects page on Ravelry here.
I thought I’d share photos of my 7 finished projects with you now. I also have a few gifts/discounts for you at the end of this blog post.
These are my 7 finished projects:
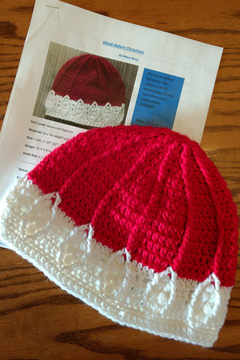
1. Week Before Christmas hat by Mary Renji
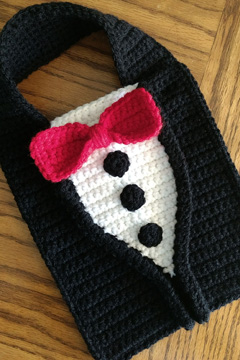
2. Pretty Spiffy Tuxedo Baby Bib by Darleen Hopkins
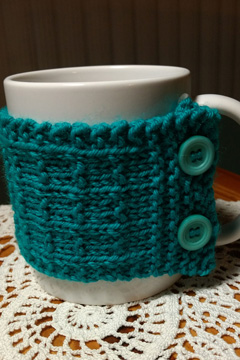
3. Coffee Cup Cozy by Heddi Craft (knit)
4. Grace and Lace Fingerless Mitts by Lilia Vanini (knit)
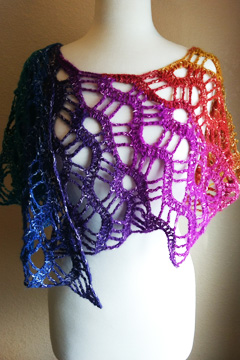
5. Lace Labyrinth shawl by 10 Hours or Less
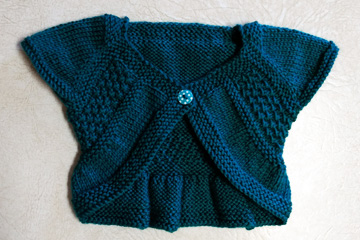
6. Entrechat by Lisa Chemery (knit)
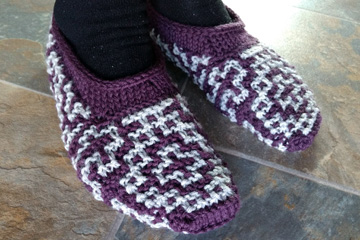
7. Mosaic Slippers by Arella Seaton (knit)
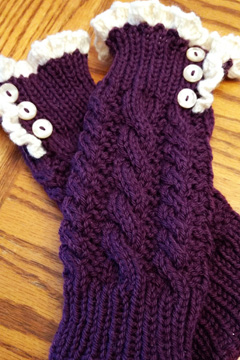
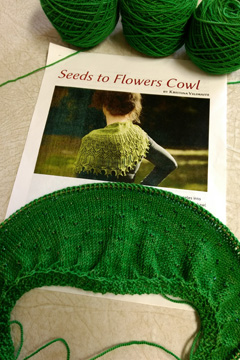
This is the project (#8) that I’m currently working on to finish up by the end of the month. It’s the Seeds to Flowers Cowl by Kristina Vilimaite. Isn’t it a gorgeous design? I have a good start on it and if nothing slows me down, I think I’ll get it done in plenty of time to “Tame the Opadoo”!
So that’s what I’ve been doing for the past month! What about you? Are you crocheting and/or knitting gifts for Christmas this year? I enjoy crocheting and knitting for others, especially when they appreciate the time and effort that went into the gift!
Here is my holiday gift to you! Use the code “gift2017” (from today through the end of the year) on this website to receive 25% off all crochet patterns that I have available here on The Crochet Architect.
As an added bonus, the designer of the “Lace Labyrinth” shawl/scarf above (10 Hours or Less) has given me a special code to pass along to my followers to receive a 20% discount on all of their regular-priced crochet and knitting patterns. The code is “CrochetArchitect” and can be used in their Ravelry store. I LOVED crocheting my Lace Labyrinth and I LOVE so many of the “10 Hours or Less” patterns!
I’ve learned a lot from knitting and crocheting these 7 projects and I’m learning a few more things by knitting the last project. They’re all fabulous designs and I’m so glad that I’ve participated in the annual GAL!
I wish you a very Merry Christmas and a Happy New Year!
Happy crocheting,
Susan
Scarves, scarves and more scarves!!!
Just in time for the cooler weather, here is another crochet scarf pattern for your stitching pleasure! Announcing my “Hitch a Ride Scarf”.
This scarf is so much fun to crochet! And it uses just one skein of sport weight or worsted weight yarn (250-300 yards). The finished scarf measures 60″ long x 14″ wide with the one skein. If you desire a longer and/or wider scarf, simply use 2 skeins of yarn instead. The scarf starts out at the narrow end and gets wider as you add more rows. With the construction of this scarf, you can make your scarf as long and wide as you desire (and have enough yarn to make). Simply stop crocheting when you reach the desired size of your scarf.
The stitch pattern is a 2-row repeat, so it’s easy to memorize. The pattern includes written instructions, as well a symbol crochet charts for the scarf and 2 options for the last row, in case you’re running out of yarn!
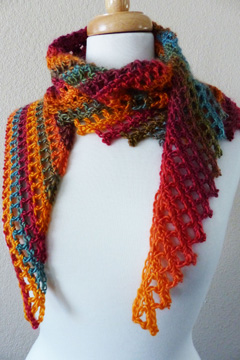
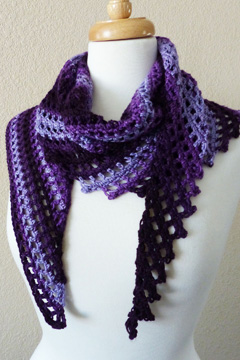
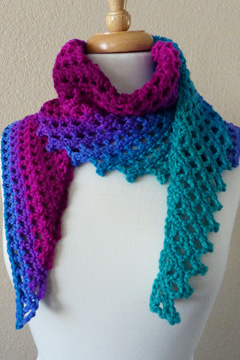
I love color-changing yarns and this pattern looks fabulous in many types of color-changing yarn! Here are a few more of these scarves that I whipped up in a matter of 1-2 days each:
I just LOVE this scarf and the colors of these yarns (and I think you will, too)!!!
You can find this new crochet scarf pattern for $4.95 on the pattern page here.
Happy crocheting (and I hope you stay warm this winter)!
Susan

