
Shop by category
See all →Latest patterns
View all →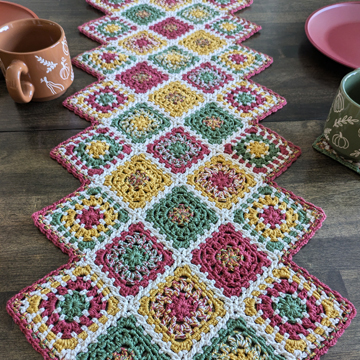
📝 Latest from the blog
All posts →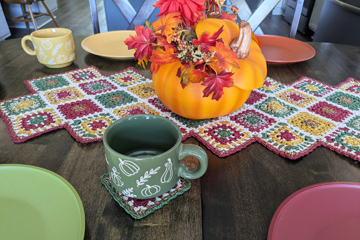
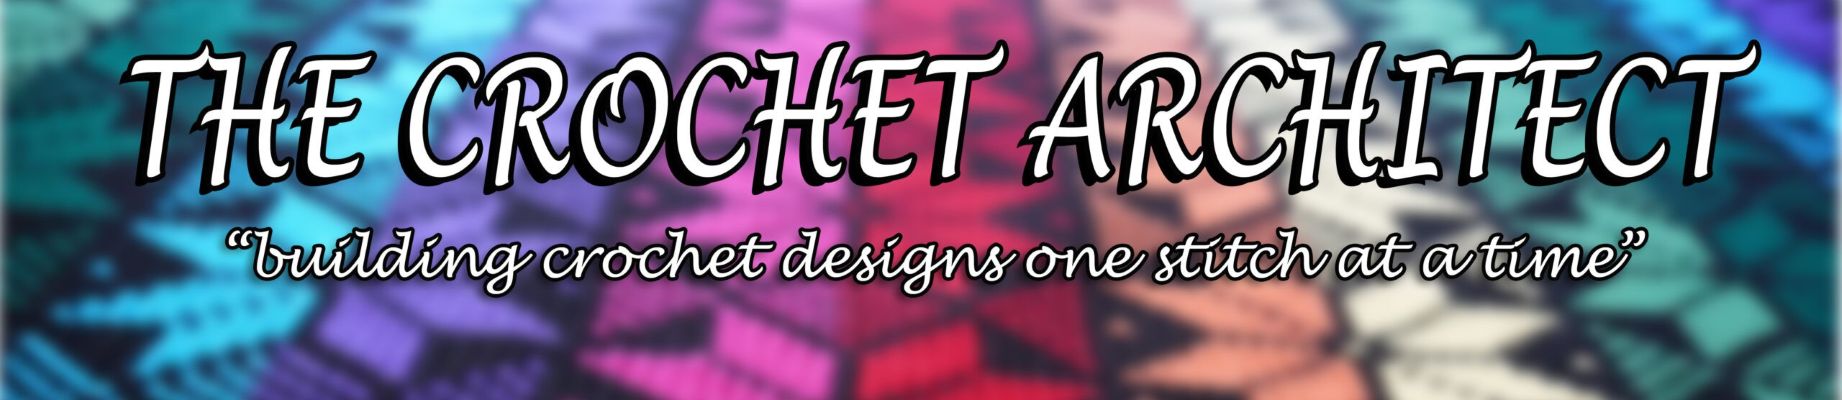
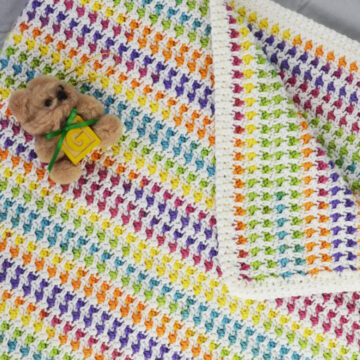
Fall Table Runner Crochet Pattern
Do you ever look at some yarn or crochet thread in your stash and wonder what you should make with it?
Read more →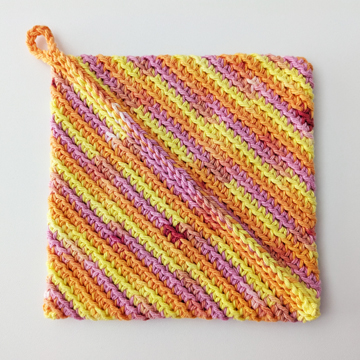
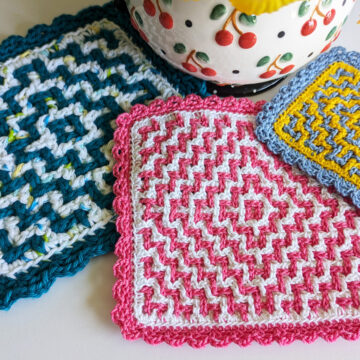
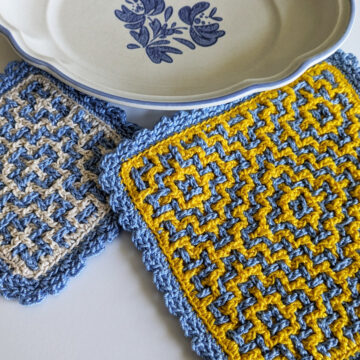
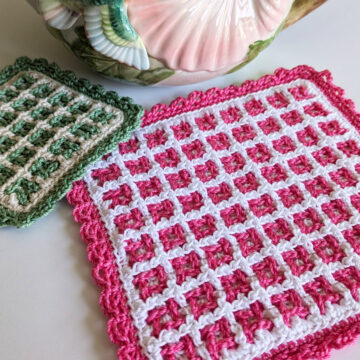
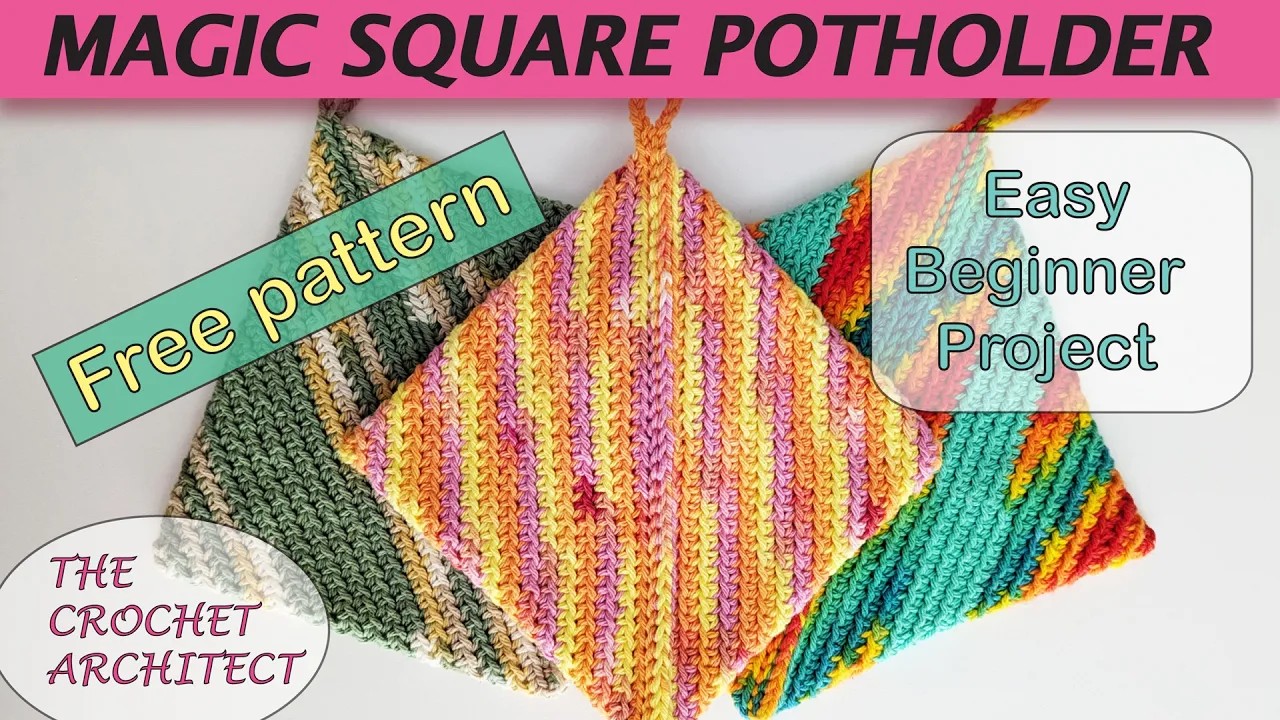
Magic Square Potholder: Free Pattern
If you’ve never crocheted a Magic Square Potholder before, you’re in for a treat!
Read more →
Upcoming Invisible Crochet Repairs Class
Do you have crochet projects in need of repair? Learn how to fix damage invisibly.
Read more →
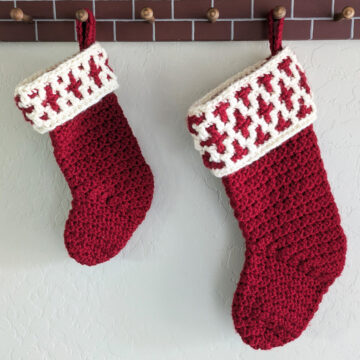
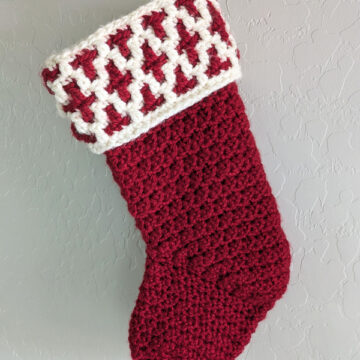
Mosaic Christmas Stockings
These beautiful mosaic Christmas stockings have been many years in the making!
Read more →🎥 Watch & Learn on YouTube
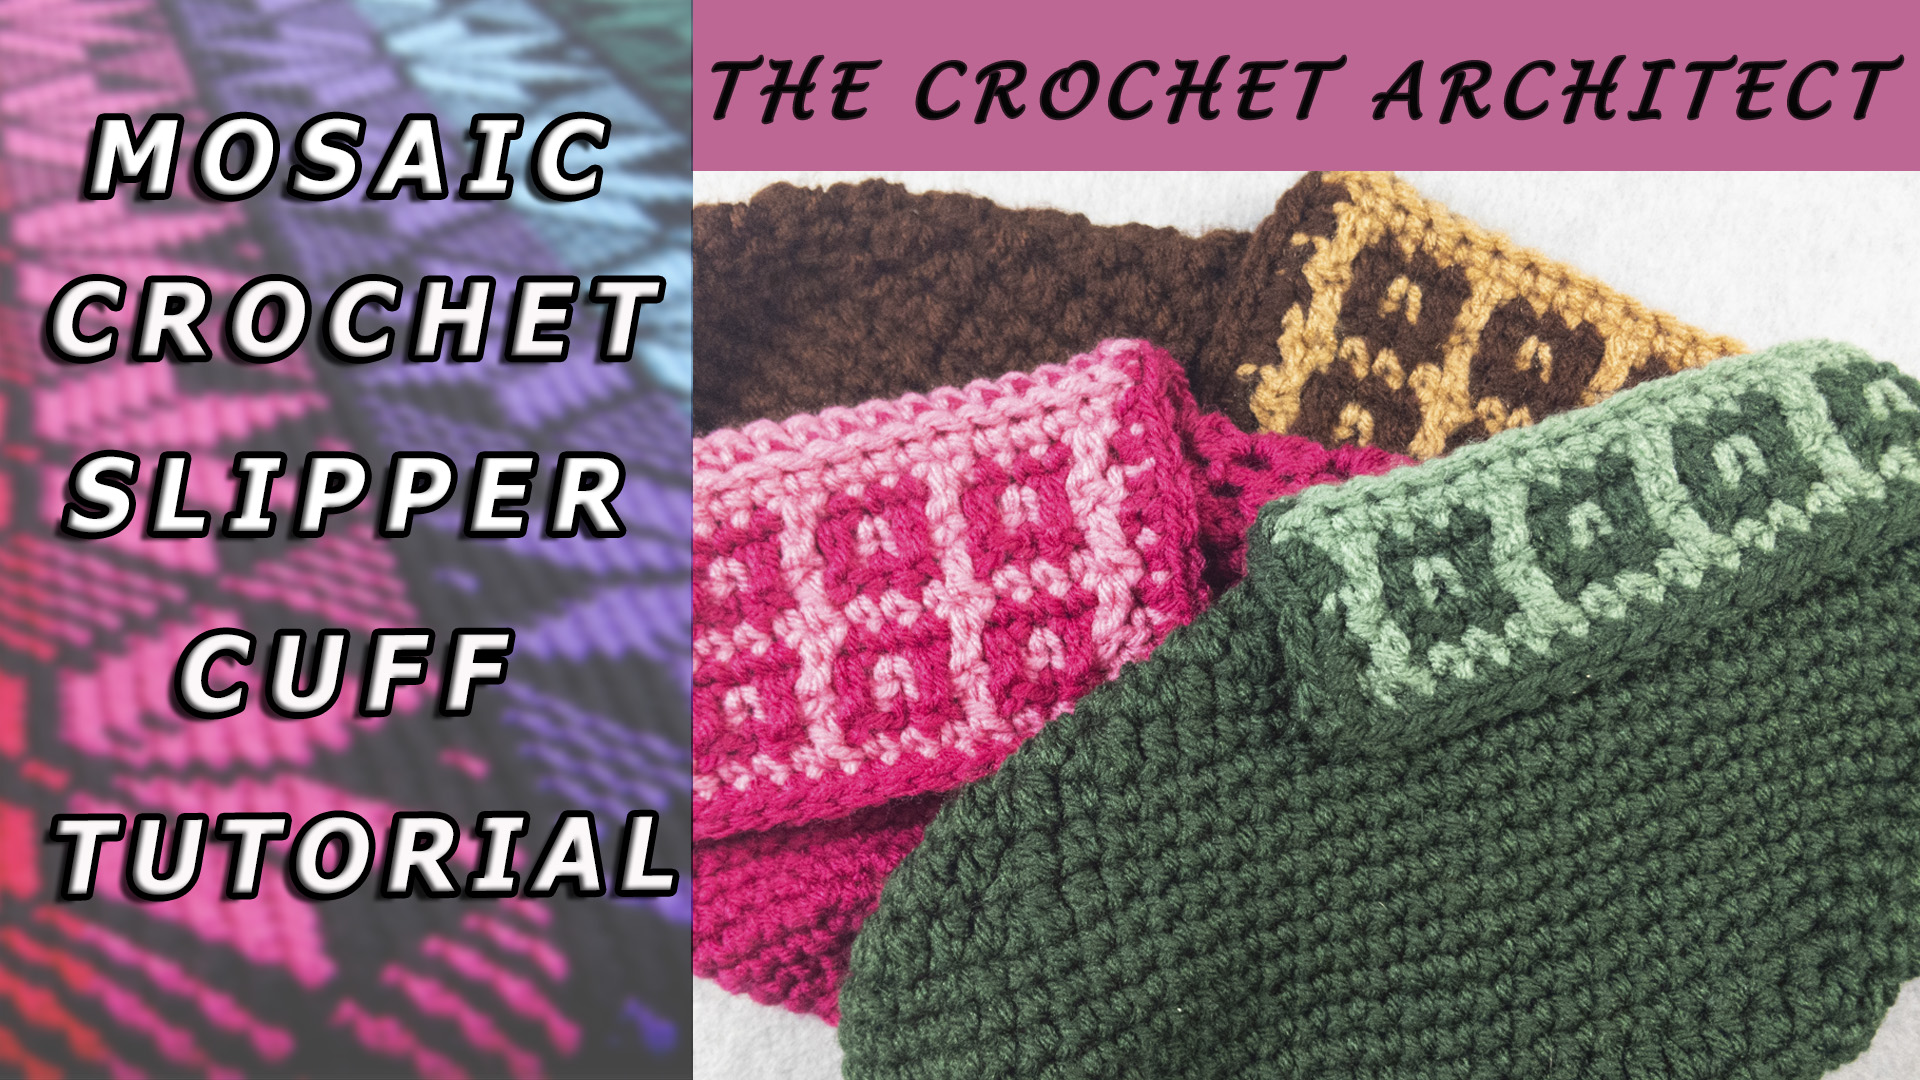
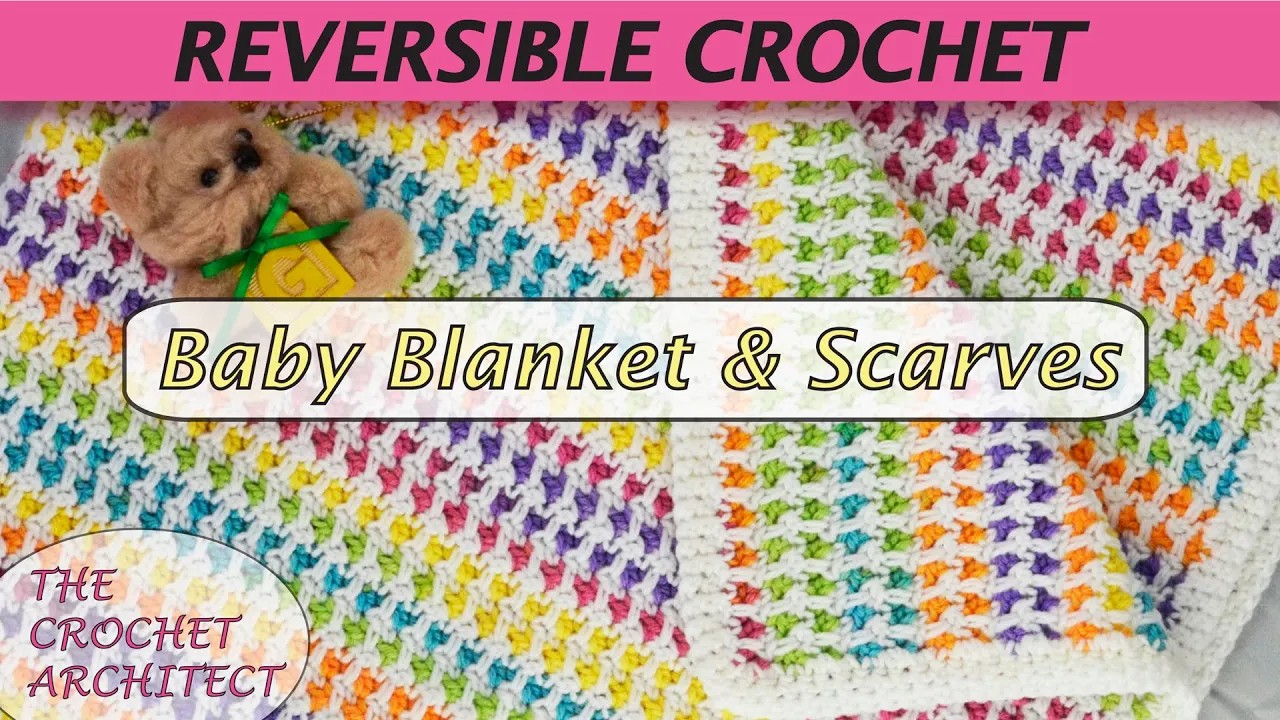
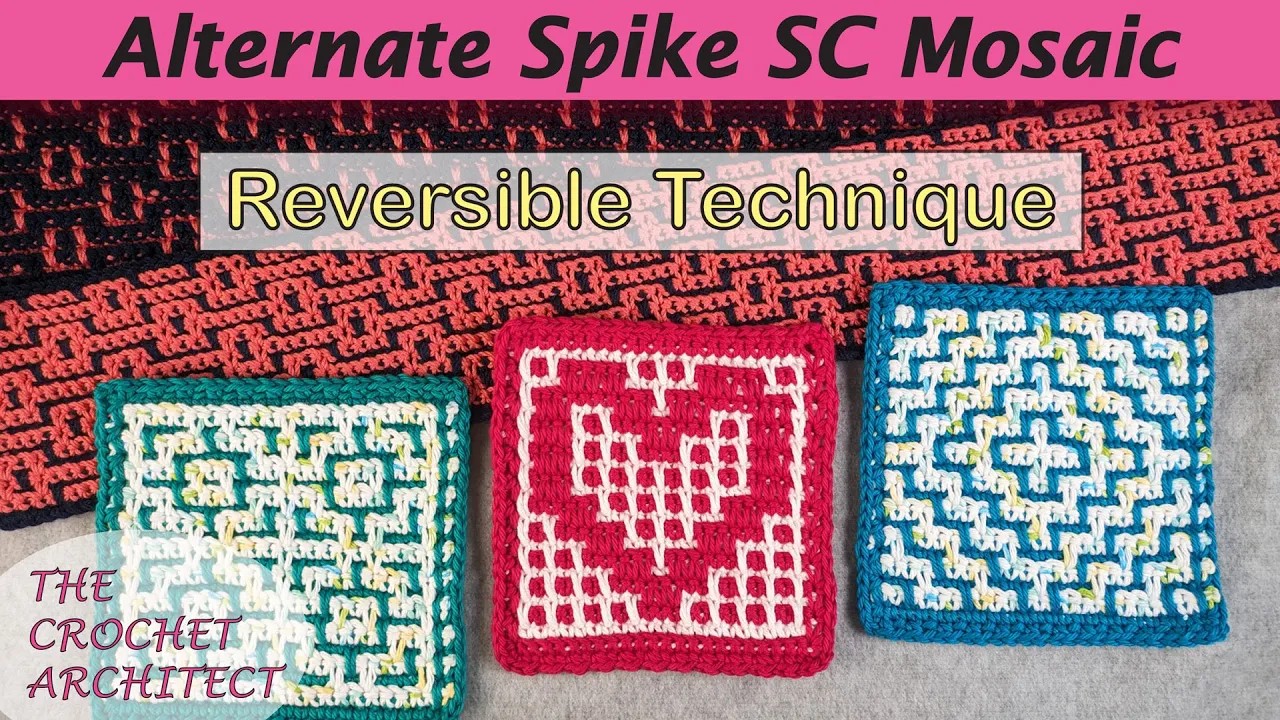
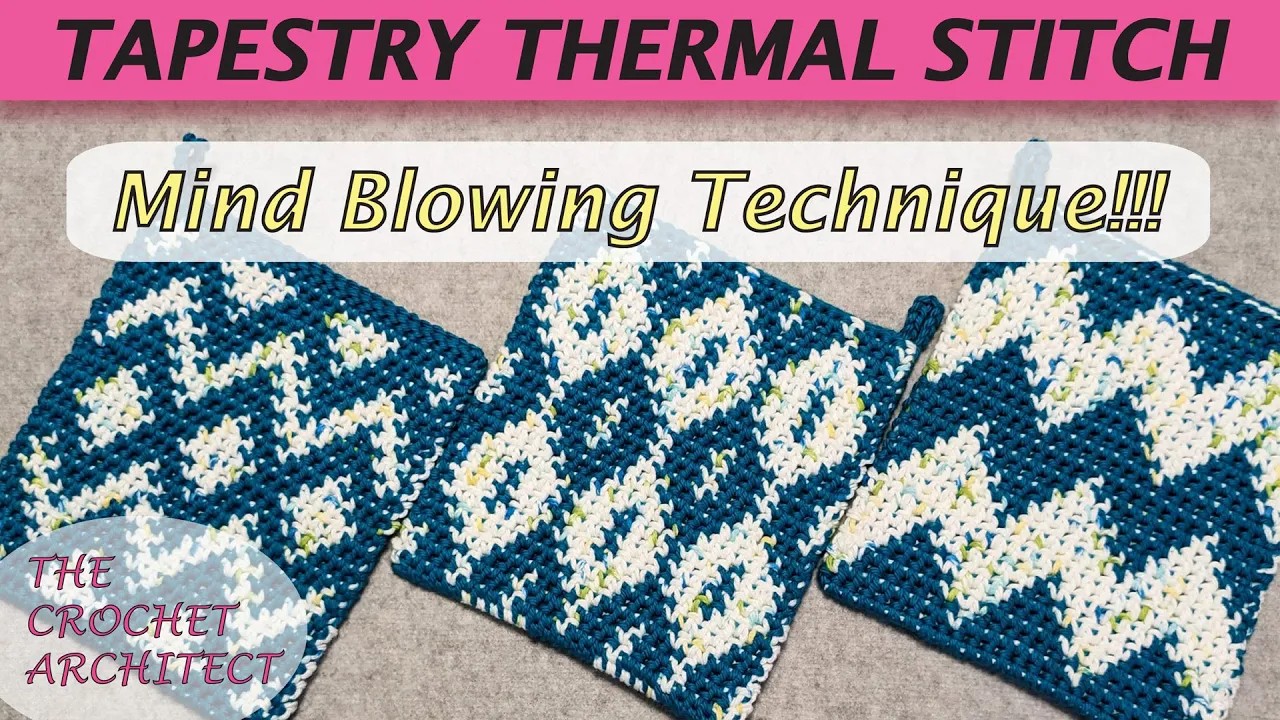
All videos →Full Tutorials


Crochet Techniques


💌 Stay in the loop!
Subscribe to get new pattern announcements, tutorials, and crochet inspiration delivered to your inbox.
