Inset Mosaic Crochet Video & Free Charts
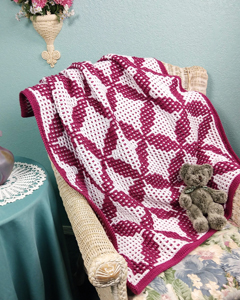
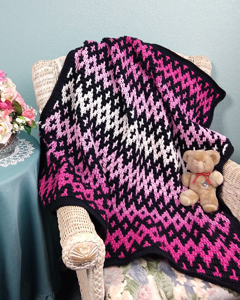
There are several styles/methods for doing Mosaic Crochet. In my previous Mosaic Crochet video, I taught you how to do Overlay Mosaic Crochet. In my new video, I’ll teach you everything you need to know to successfully do the Inset Mosaic Crochet method.

Inset Mosaic Crochet differs from Overlay Mosaic Crochet because Inset is worked with 2 rows of each color instead of 1. Because of that, you won’t need to finish off each row, creating tails/ends to deal with by weaving them in, turning them into fringe or crocheting a double border.
Both Overlay and Inset Mosaic Crochet are worked with 2 contrasting colors of yarn. You can use a DK weight, worsted weight or whatever weight yarn you desire.
This is a fabulous method of Mosaic Crochet! So if you’d like to learn it, check out my YouTube video. I also have a FREE download for the swatch charts that I used in the video, along with written directions for the swatch. You can find that download on my free patterns page.
Happy Mosaic Crocheting to all of you!
Susan
Improved Overlay Mosaic Crochet Video & Scarf Pattern
Mosaic Crochet is one of my favorite crochet techniques. Have you heard of Mosaic Crochet before? It’s an absolutely wonderful crochet technique! With Mosaic Crochet, you can create something that looks much more complicated than it actually is! There are several styles of Mosaic Crochet. The Overlay Mosaic Crochet style is worked in alternating rows of a dark color and a light color (only one color of yarn is used in each row). Each row is worked on the right side, so each row starts and stops (joins and finishes off), creating ends/tails at the beginning and end of each row. I like to turn these ends into fringe, especially when making a Mosaic Crochet scarf. Then there are no ends to weave in on the project!

If you’d like to learn this fabulous crochet technique, I have a new YouTube video teaching the Overlay Mosaic Crochet technique. Check it out and let me know what you think! In this video, you’ll learn everything you need to know while crocheting a swatch along with me (there’s a free chart that goes with the video, as well). Then you’ll be successful with your Overlay Mosaic Crochet projects!
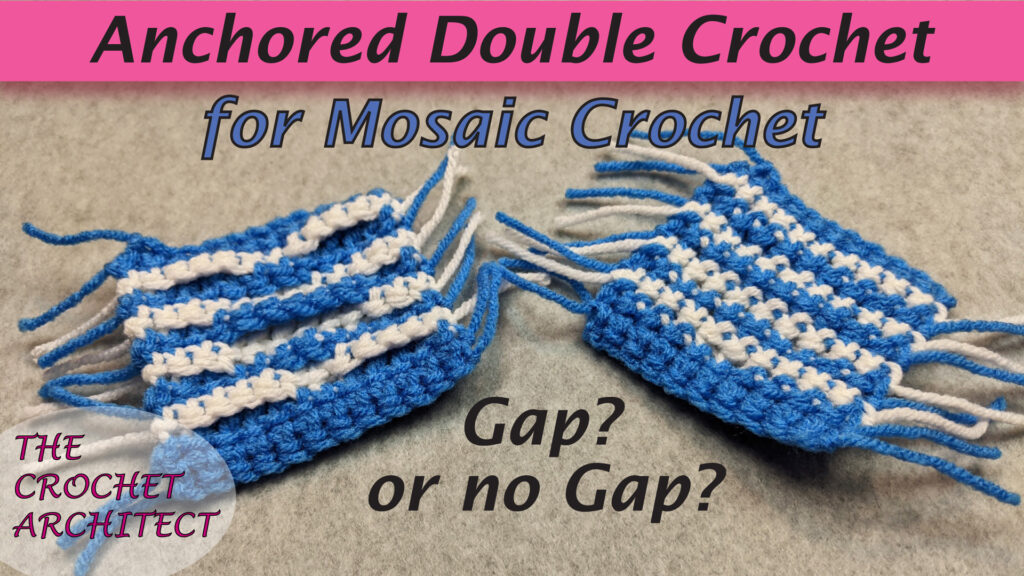
My style of Overlay Mosaic Crochet differs from other designers because I use an Anchored double crochet (Adc) stitch instead of a regular double crochet (dc). This eliminates gaps on the back of the mosaic piece and gives it more stability. You can learn the Adc in my “Improved Overlay Mosaic Crochet” YouTube video, as well as in my separate “Anchored Double Crochet” YouTube video for more success with your Overlay Mosaic Crochet projects.
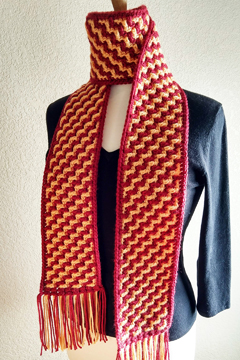
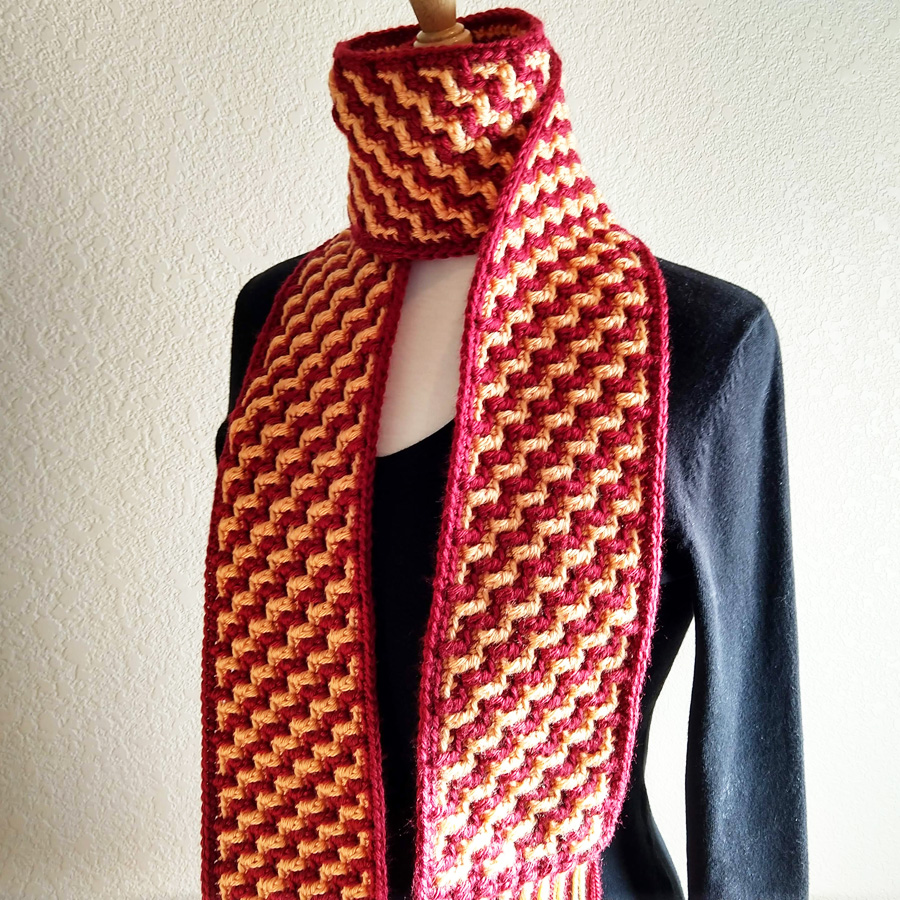
While planning and creating this video, I decided to design another Mosaic Crochet Scarf pattern for your enjoyment. It’s been many years since I designed my first Mosaic Crochet Scarf pattern. They’re so much fun to crochet and wear! Since this new mosaic pattern looks like stairs, I’ve called it the “Flight of Stairs Scarf”. This scarf is easy to make, following the written instructions and the included charts in the pattern. It’s made similarly to the mosaic swatch in the video with a few differences. If you can crochet the swatch from the video, I’m sure you’ll be successful in crocheting this scarf!
If you’ve never done Mosaic Crochet before, give it a try! You’ll be glad you did!
Happy New Year and Happy Crocheting!
Susan
Easy Rainbow Hat Pattern
I’m pleased to announce that I’ve published a new crochet hat pattern. My Easy Rainbow Hat coordinates perfectly with my very popular Easy Rainbow Scarf pattern! The hat pattern comes in 2 styles and 3 sizes. You’ll find it easy to make and fun to wear. Easy because my video tutorial will step you through the stitches. Fun because you’ll look so good in it, especially with the matching Easy Rainbow Scarf.
If you’d like to save 20% on the hat pattern or the scarf pattern (or both), watch the video to find a special discount code that’s valid on my website only until Jan. 31, 2021.
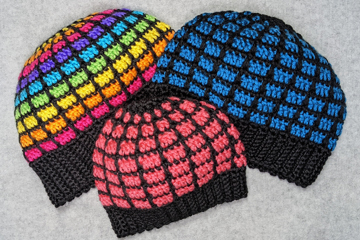
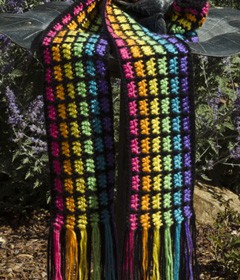
Several months ago, someone on Etsy asked me if I had a coordinating hat pattern for my Easy Rainbow Scarf pattern. I said I didn’t, but then I asked myself why I didn’t. So I got to work designing the hat soon afterward, using the same yarn that I used for my Easy Rainbow Scarf pattern: Caron Simply Soft, which is a worsted weight yarn. I designed and made the largest size first, then I thought it would be great to have 3 sizes: child, woman/teen and man.
I love the fact that you can make coordinating sets of hats and scarves now! If you love rainbow colors, like me, you’ll have some very colorful accessories, made with the 6 colors of the rainbow plus black! If you want to keep things simple, use only a dark color and a light color. Either way, the hat looks great! And if you’d like to make a messy bun hat, simply omit the final 3 decrease rounds at the top of the hat!
The pattern comes with complete written instructions, along with step-by-step photos for working in the back bump of the foundation chain, making a Long double crochet (Ldc) and starting a row (joining) with a dc.
The pattern comes with two PDF downloads. One download includes the step-by-step photos and the other download has less photos for ease of printing. Also, the written instructions and stitch counts for each hat size are color-coded to help you follow the instructions for the hat size you’re making.
Since I started a YouTube crochet channel earlier this year, I made a video tutorial teaching how to make the Long dc, working in the back bump of the foundation chain, making the sc ribbing, along with all the decreases used in this hat pattern. So if you haven’t done some of these stitches or techniques before, check out that video here.
You can find my new Easy Rainbow Hat pattern to purchase here.
I wish you all a Healthy, Happy New Year with lots of time to crochet!
Susan
Stiffening Crocheted Snowflakes made Easy
I just LOVE the looks of crocheted snowflakes, don’t you? They look so pretty on a Christmas tree or as decorations anywhere in your home! They make great gifts, as well as package decorations, too! And they’re surprisingly easy to make (with a few crochet skills and knowledge)!
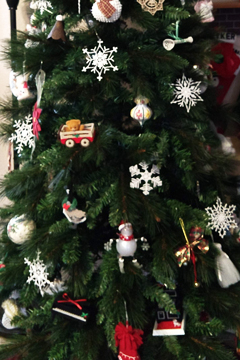
But how do you take a crocheted snowflake from droopy and lifeless to stiffened and lacy? You stiffen it with fabric stiffener and pin it out to dry! It’s not hard at all. Just a little time-consuming, like so many things in life! But it’s so worth it when you’re done! I have a free PDF template that you can use for pinning your snowflakes on to shape them perfectly. You can find that template in my written tutorial.
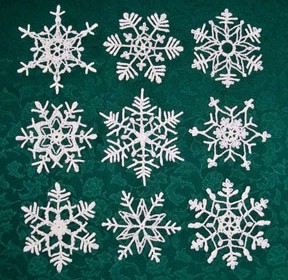
If you’ve never stiffened crocheted snowflakes before, check out my new YouTube video where I’ll take you step-by-step through the process. I also share my favorite pattern book for crocheting the snowflakes, as well as how I store my snowflakes for years of enjoyment!
So what are you waiting for? Learn to stiffen crochet snowflakes today for many years of enjoyment by you or someone you love!
I wish you all a very Merry Christmas and a healthy, happy New Year!
Happy snowflake crocheting!
Susan
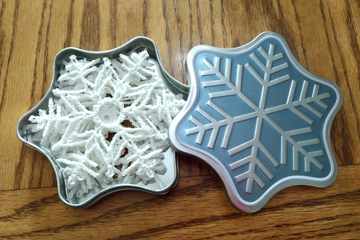
P.S. Here’s another way to store your stiffened crocheted snowflakes. It’s a gift card tin from Amazon! I have several of these and they work great for storing my snowflakes. I can fit 4 medium size snowflakes in each tin. The tin comes with a gift card ($25 minimum card amount) that you can use or give as a gift. Then you can keep the tin and use it to store some snowflakes! Here’s a link to the Amazon gift card page with this snowflake tin (the tin is free with the purchase of the gift card!).
Free Baby Booties and Beginner Scarves Pattern
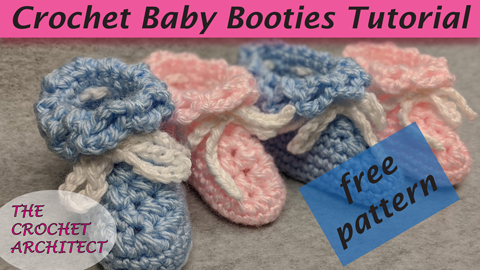
If you’ve always wanted to learn to crochet baby booties, then now is the time! I have a new YouTube video that goes along with my FREE Baby Booties pattern where I teach how to make these baby booties from start to finish! They are great projects to make quickly for a baby shower. Or make some for a local charity, or for your own baby!
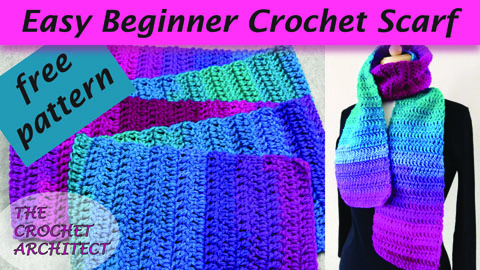
The other new YouTube video I’ve made is for crocheting a beginner-friendly scarf. This scarf is made with rows of dc throughout. I’ll teach you where to begin and end your rows of dc and share a tip to help you keep the edges even. I’ve got a FREE crochet pattern that goes along with this video, as well. This project is great for practicing your double crochet stitches.
I hope you enjoy both of these videos and learn something new to further your crochet skills and knowledge!
Happy crocheting,
Susan
Fun Wiggly Crochet Video
I’m excited to announce that I have a new YouTube video on learning to do Wiggly Crochet! I’ve enjoyed this crochet technique for many years. It’s one of my favorites to do and to teach!
In this Wiggly Crochet YouTube video, I’ll teach you how to crochet the foundation mesh, crochet the wiggly stitches on top of the mesh and read the wiggly crochet chart.
There is a FREE Wiggly Crochet pattern that you can download right here on my website to go with the YouTube video, so you’ll be able to get started with this wonderful crochet technique today!
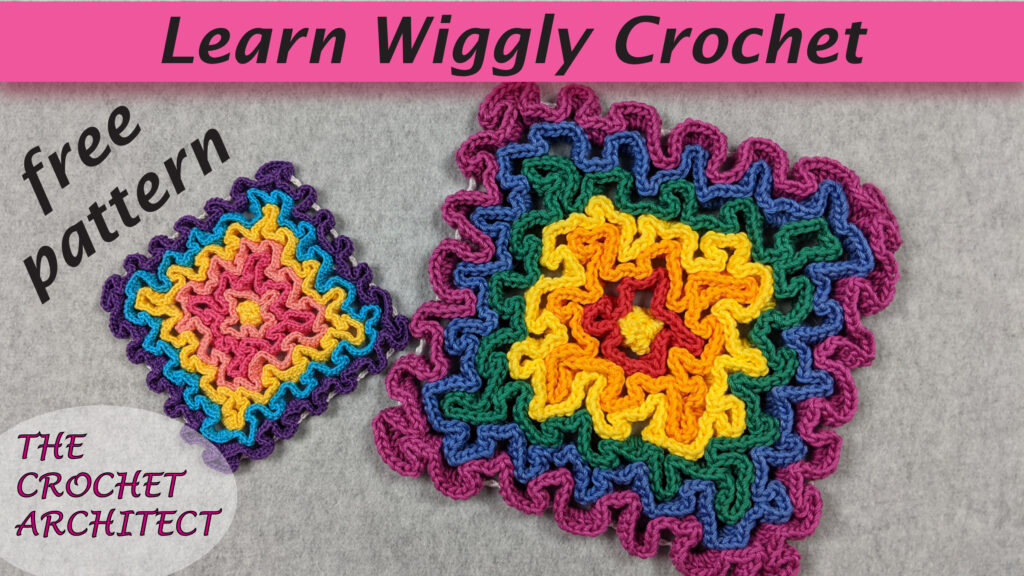
Learn to do Wiggly Crochet Hot Pad and Coaster Video
Here are some of the Wiggly Crochet projects that I’ve designed over the years:
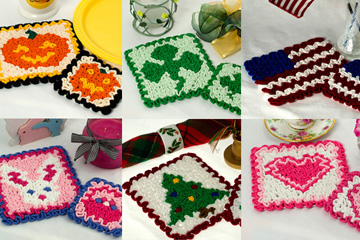
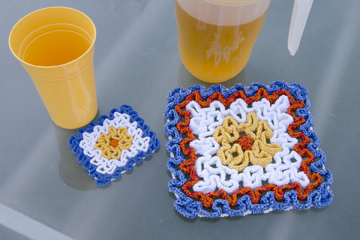
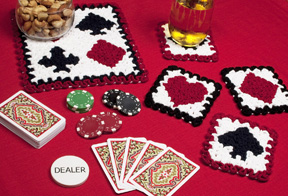
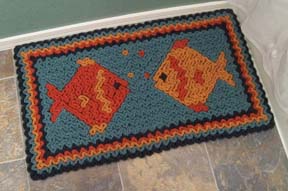
I hope you’ll give this fantastic crochet technique a try very soon! You’ll be glad you did!
Happy crocheting,
Susan
Very Cute Crocheting Amigurumi Tips and Tricks Video
I’m excited to let you know that I’ve released 2 new YouTube crochet videos. In both of these videos, I share lots of tips and tricks to help you be successful in crocheting amigurumi animals.
In Part 1, you’ll learn how to read amigurumi patterns, crochet the pieces and do color changes.
In Part 2, you’ll learn how to stuff the pieces (how much fiberfill is enough?), 2 ways to sew the pieces together and how to embroider faces, spots, etc onto your amigurumi animals.
These are so much fun to make a play with! My grandchildren, grown children and I love them!
Just click on the video images below to watch these new videos!
I’ve enjoyed crocheting amigurumis for many years, especially during the past 4 years of crocheting for my grandchildren! Here are a few of the amigurumis that I’ve crocheted for my grandchildren, children and myself:
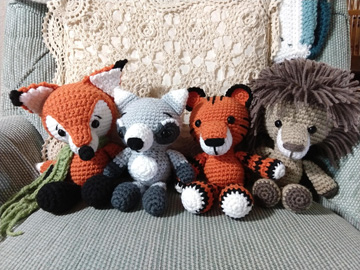
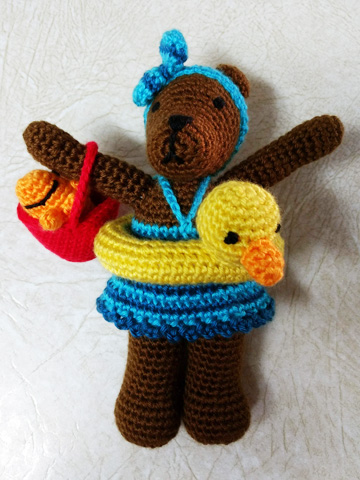
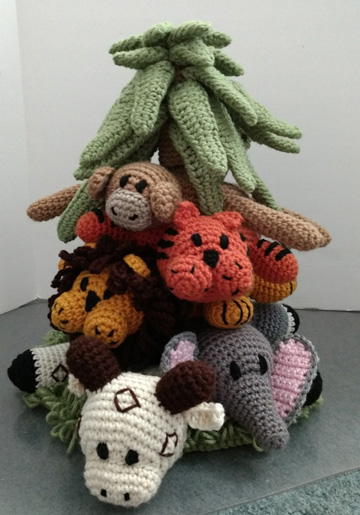
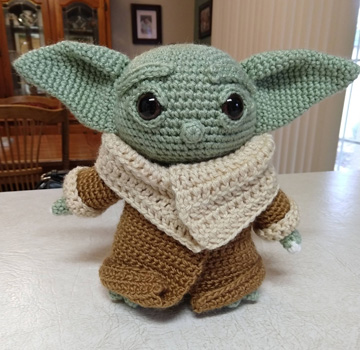
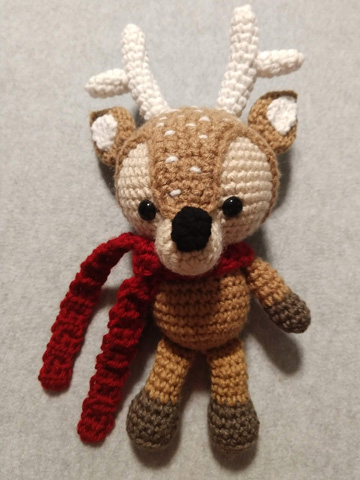
Have you ever crocheted amigurumis? Do you enjoy crocheting them? Are you successful in crocheting them? If you’ve never crocheted amigurumi animals before or you don’t like how yours turned out, check out my 2 new videos to help you be successful with these adorable crochet projects!
Happy amigurumi crocheting to all of you!
Susan
Quick and Easy Foundation Double Crochet Tutorial
Here’s a wonderful crochet stitch/technique to add to your crochet toolbox: the foundation double crochet (fdc). I’ve just finished a short YouTube video on how to do the fdc, along with where/why you’d want to use it.
I hope you enjoy this video and it helps you be successful with making the foundation dc. Thank you to Tammie on Facebook for suggesting this video!
Happy crocheting,
Susan
Tapestry Crochet Tutorial with Free Pattern
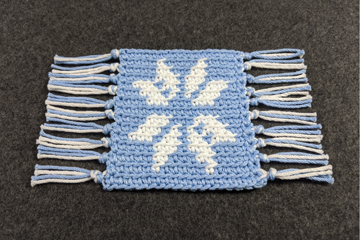
I’m pleased to announce that I’ve just released a new crochet video on my YouTube channel to teach the Tapestry Crochet technique. This video was a lot of fun to put together! I really like this technique because it’s one of the techniques that uses more than one color in a row or round! Plus the designs you can create with it are endless! Check out my new Tapestry Crochet video here.
With this technique, you use 2 or more colors in each row/round. You change colors, according to a chart, and “carry” the unused color(s) underneath the stitches being worked. It’s a great technique to use when you don’t want to have long strands of yarn on the back of your work!
This new Tapestry Crochet technique video teaches you how to begin and end rows of Tapestry Crochet, carry the yarn, change colors and make the fringe. All while having fun making the snowflake coaster project that’s included in the video. The Snowflake Coaster chart is available for free on my Free Patterns page.
I love designing small projects for learning a new technique. There’s nothing like being able to finish a crochet project quickly, all while successfully learning a new technique! And small projects are great for practicing a new technique. If you make a mistake, your huge project isn’t ruined!
If you enjoy the this technique, you may want to make something larger than a coaster in this technique. That’s where my “Stained Glass Snowflake Scarf” and “It Takes All Colors Snowflakes Afghan” patterns come into play! Both of these designs use the exact same Tapestry Crochet technique that I’m teaching in this new video.
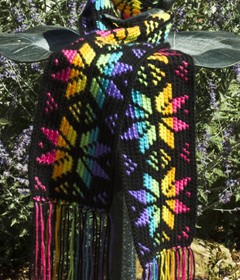
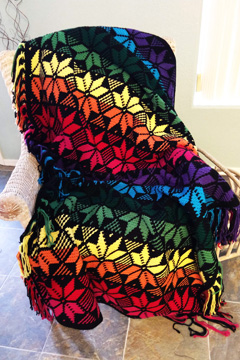
If you haven’t tried the technique before, what are you waiting for? It’s a wonderful technique with many fabulous projects that can be made from it! Check out my new Tapestry Crochet video here.
And speaking of Tapestry Crochet, I bought a new Tapestry Crochet book last week called “Colourful Wayuu Bags to Crochet” by Rianne de Graaf. You can see this book on Amazon here. Rianne has designed some really pretty bags in the Tapestry Crochet technique. These bags are so cool! Rianne even teaches how to make the straps and cords for the bags in this book.
I hope you’ve enjoyed this look at Tapestry Crochet and will give it a try. You’ll be glad you did!
Happy crocheting,
Susan

