It’s been 3 weeks since I returned home from the CGOA Conference in Manchester, NH. This year is the 25th Anniversary of CGOA! Wow! I’ve been a member since 2002, so I’ve been with CGOA for 17 of their 25 years. Happy Birthday, CGOA!
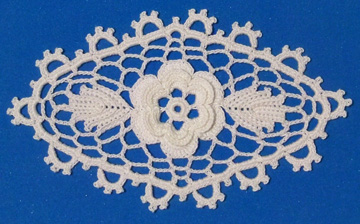
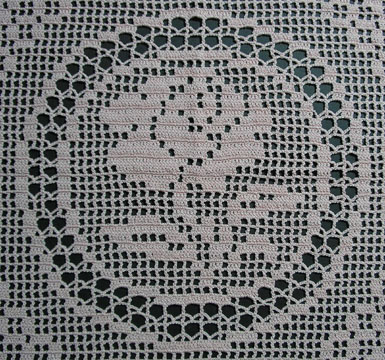
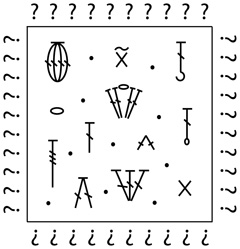
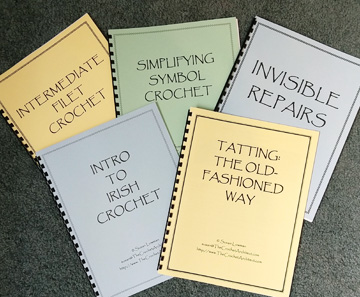
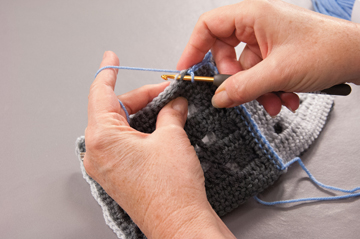
As always, I had a great time at the conference. I saw lots of friends, made new ones and was surrounded by everything crochet! This year, I taught 5 classes: Shuttle Tatting, Invisible Repairs, Irish Crochet, Intermediate Filet Crochet and Symbol Crochet. I had rooms full of wonderful students, each eager to learn what I was teaching. I even had a blind student in 2 of my classes! She was a treat to meet and teach (and what an inspiration to me!). Unfortunately, I didn’t take any photos of the students in my classes. But I still have a few photos to share with you from the conference.
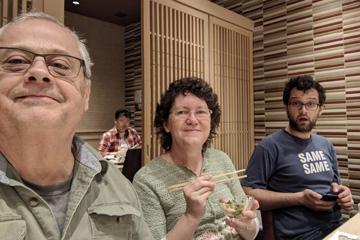
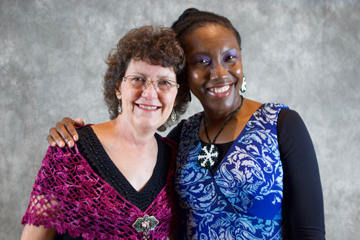
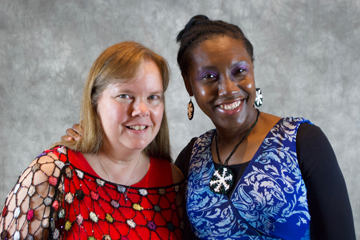
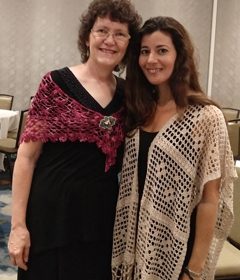
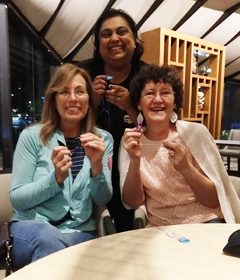
Here are photos of some of my friends:
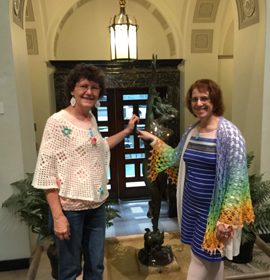
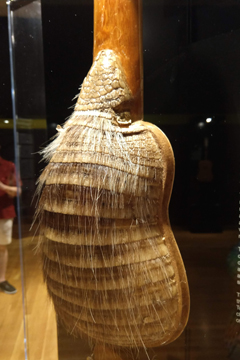
I stayed an extra day after the conference for some sightseeing! My roommate, Shari White, and I went to the Currier Museum of Art that day. It was a very nice museum with lots of beautiful exhibits. They even had a special exhibit about guitars. My favorite guitar was one made from an armadillo shell! Here are some photos from the museum:
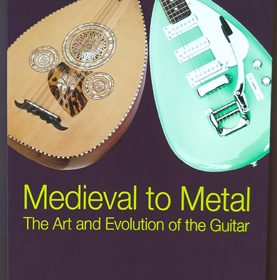
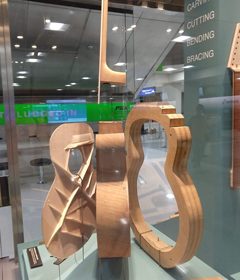
On the way to the conference, I saw some other guitar items. At Sky Harbor airport in Phoenix, they had an exhibit about making guitars. Here’s a photo from that exhibit:
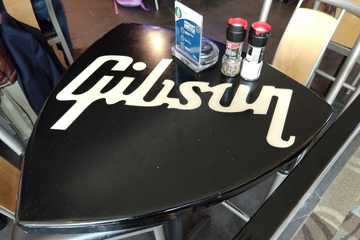
And at the airport in Nashville, where I had a layover on the way to Manchester, there was a Gibson Café. Here’s one of the tables that’s shaped like a guitar pick:
My oldest son is really into music, so I tend to take notice of music-related items!
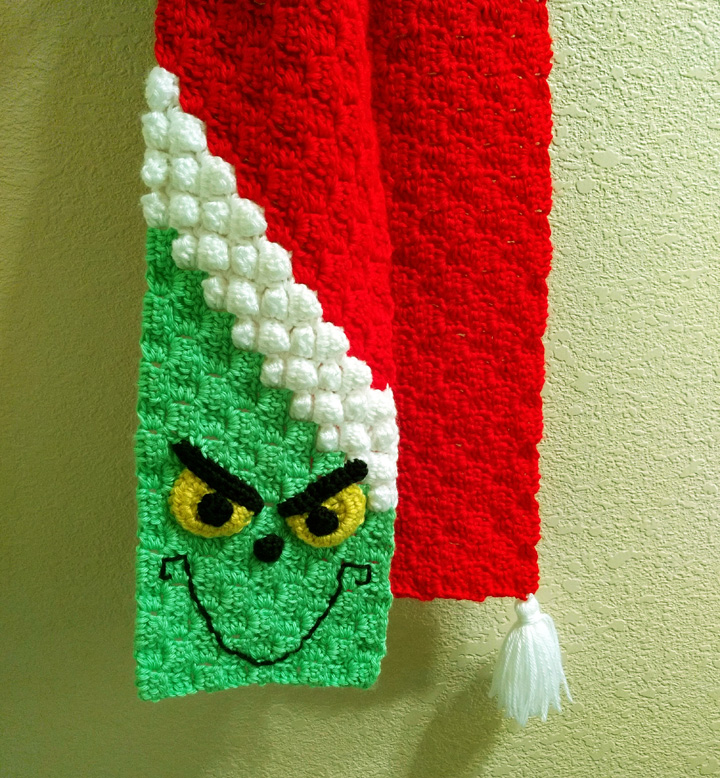
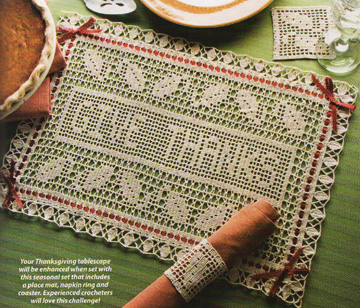
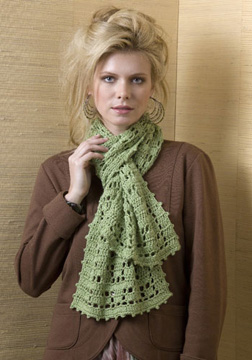
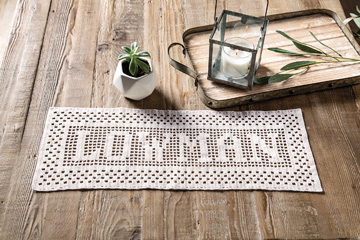
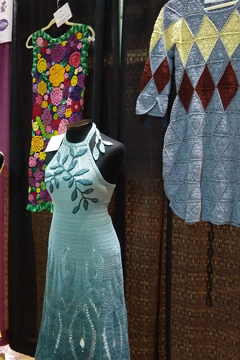
At the conference, there was the usual Design Competition, which I love! I didn’t have time to make anything for it this year, but I always enjoy seeing the entries from other designers. Here are a couple of my favorites:
This is the Rockabilly Swing Dress by Nancy Nehring. She won the Grand Prize for this dress! And here’s her daughter, Katie, modeling the dress for the fashion show:
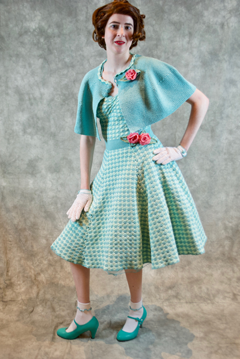
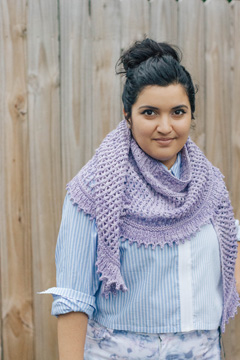
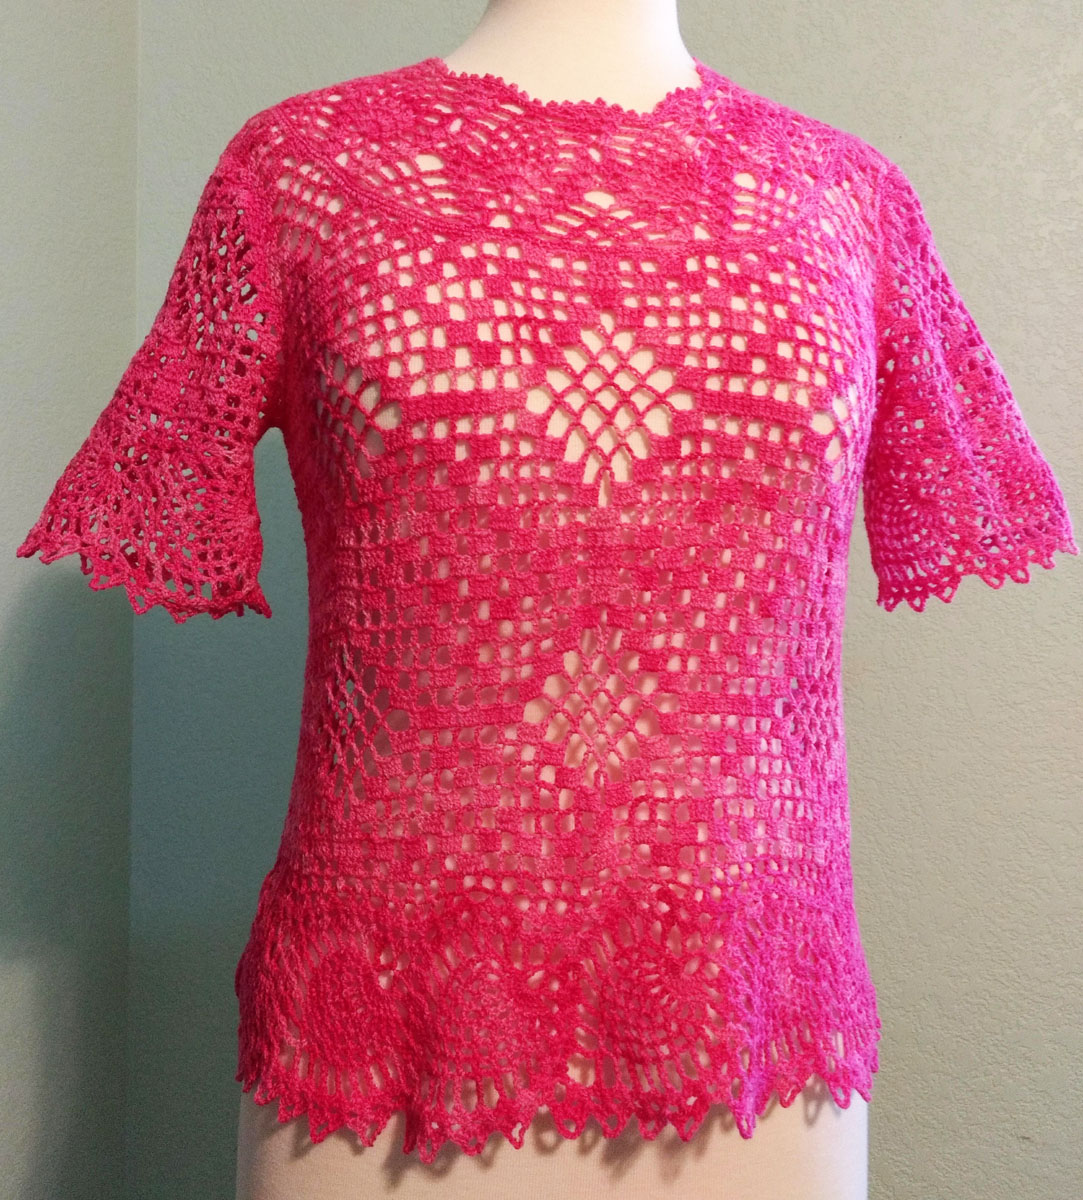
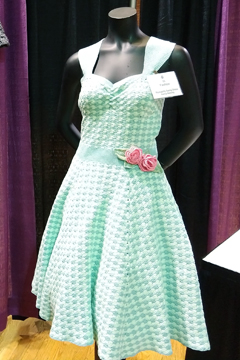
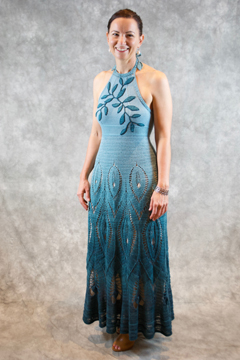
These are some other garments in the Design Competition. The one at the bottom left is the Blue Willow Dress by Susan Walsh. She won First Place in the Fashion category for this design.
Here’s Susan modeling her dress for the Fashion Show:
I LOVE this dress! And it looks fabulous on Susan!
I would be remiss if I didn’t mention the yarn bombing at the conference. One of the CGOA members, Jennifer Ryan, who lives in NH, put together the yarn bombing this year, both inside and outside the conference hotel (the Double Tree by Hilton). Here is one of her yarn bombing displays:
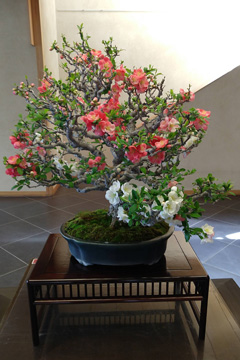
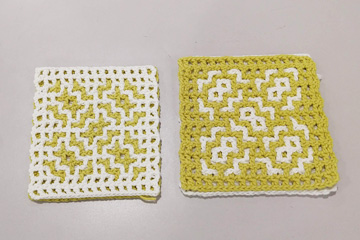
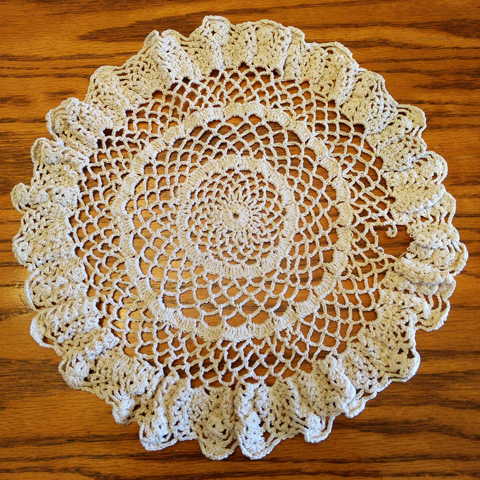
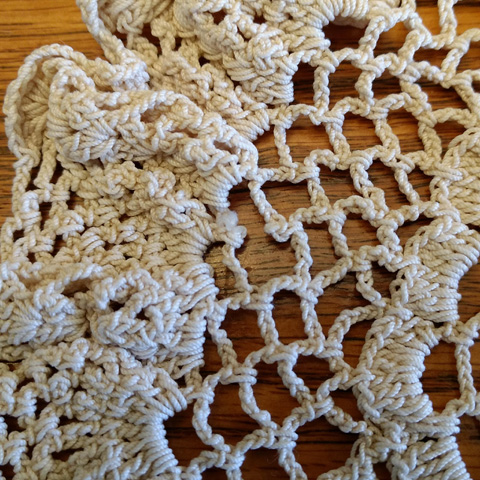
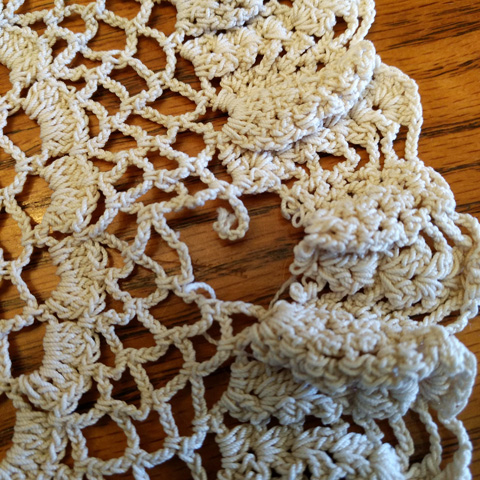
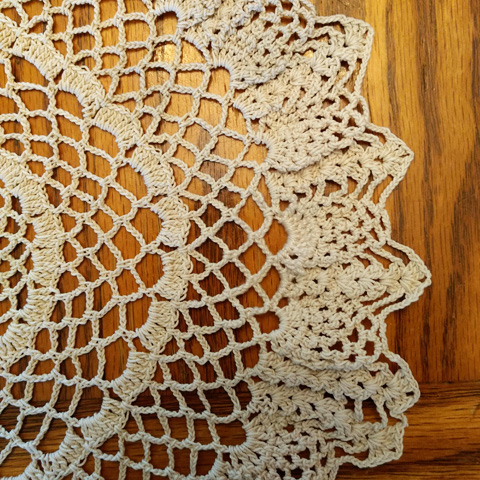
Of course, there were pieces of crochet almost everywhere you turned at the hotel! I thought this one was really nice!
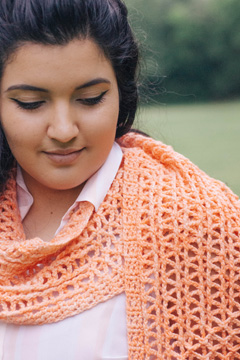
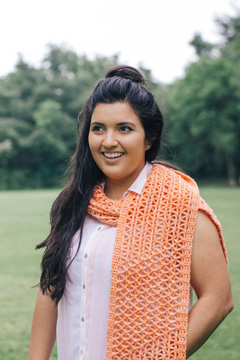
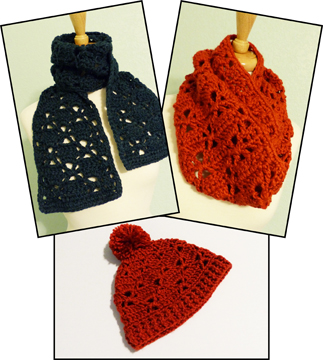
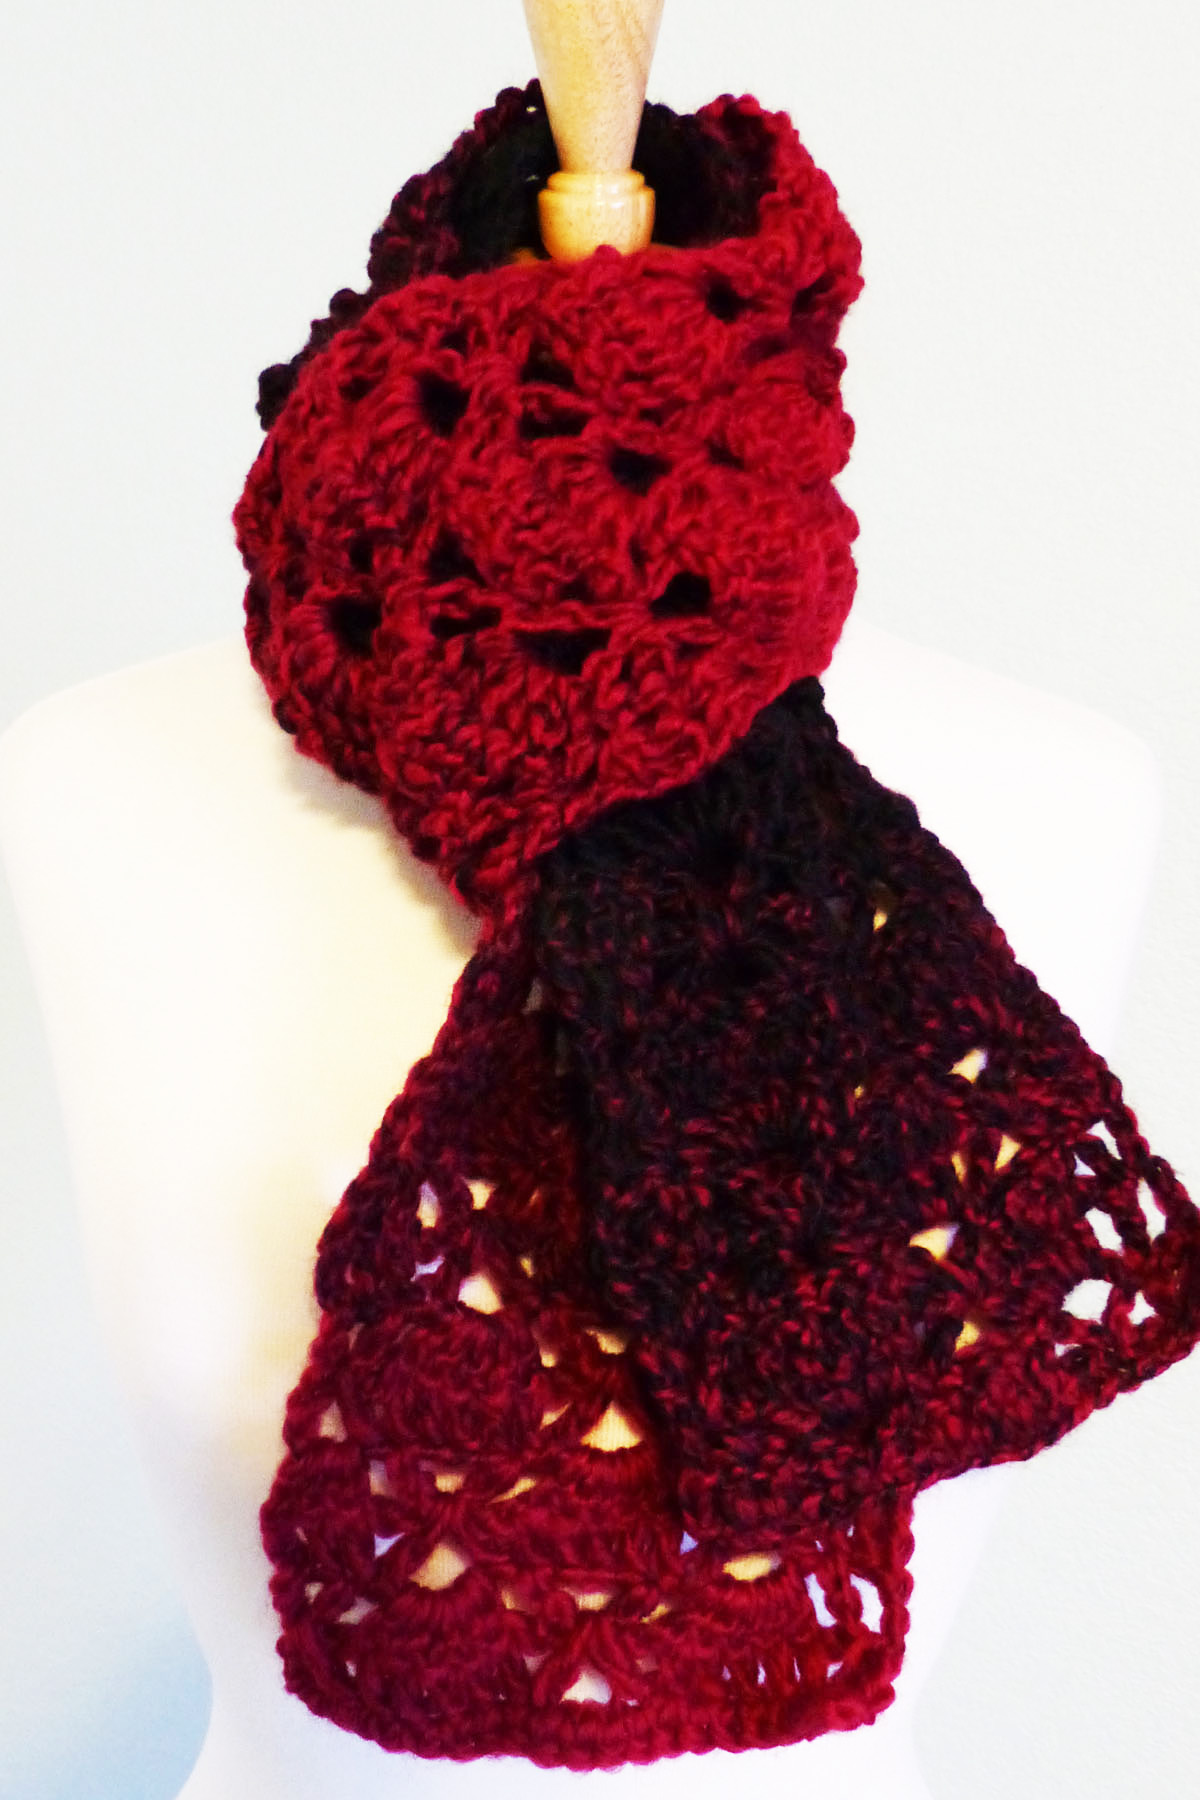
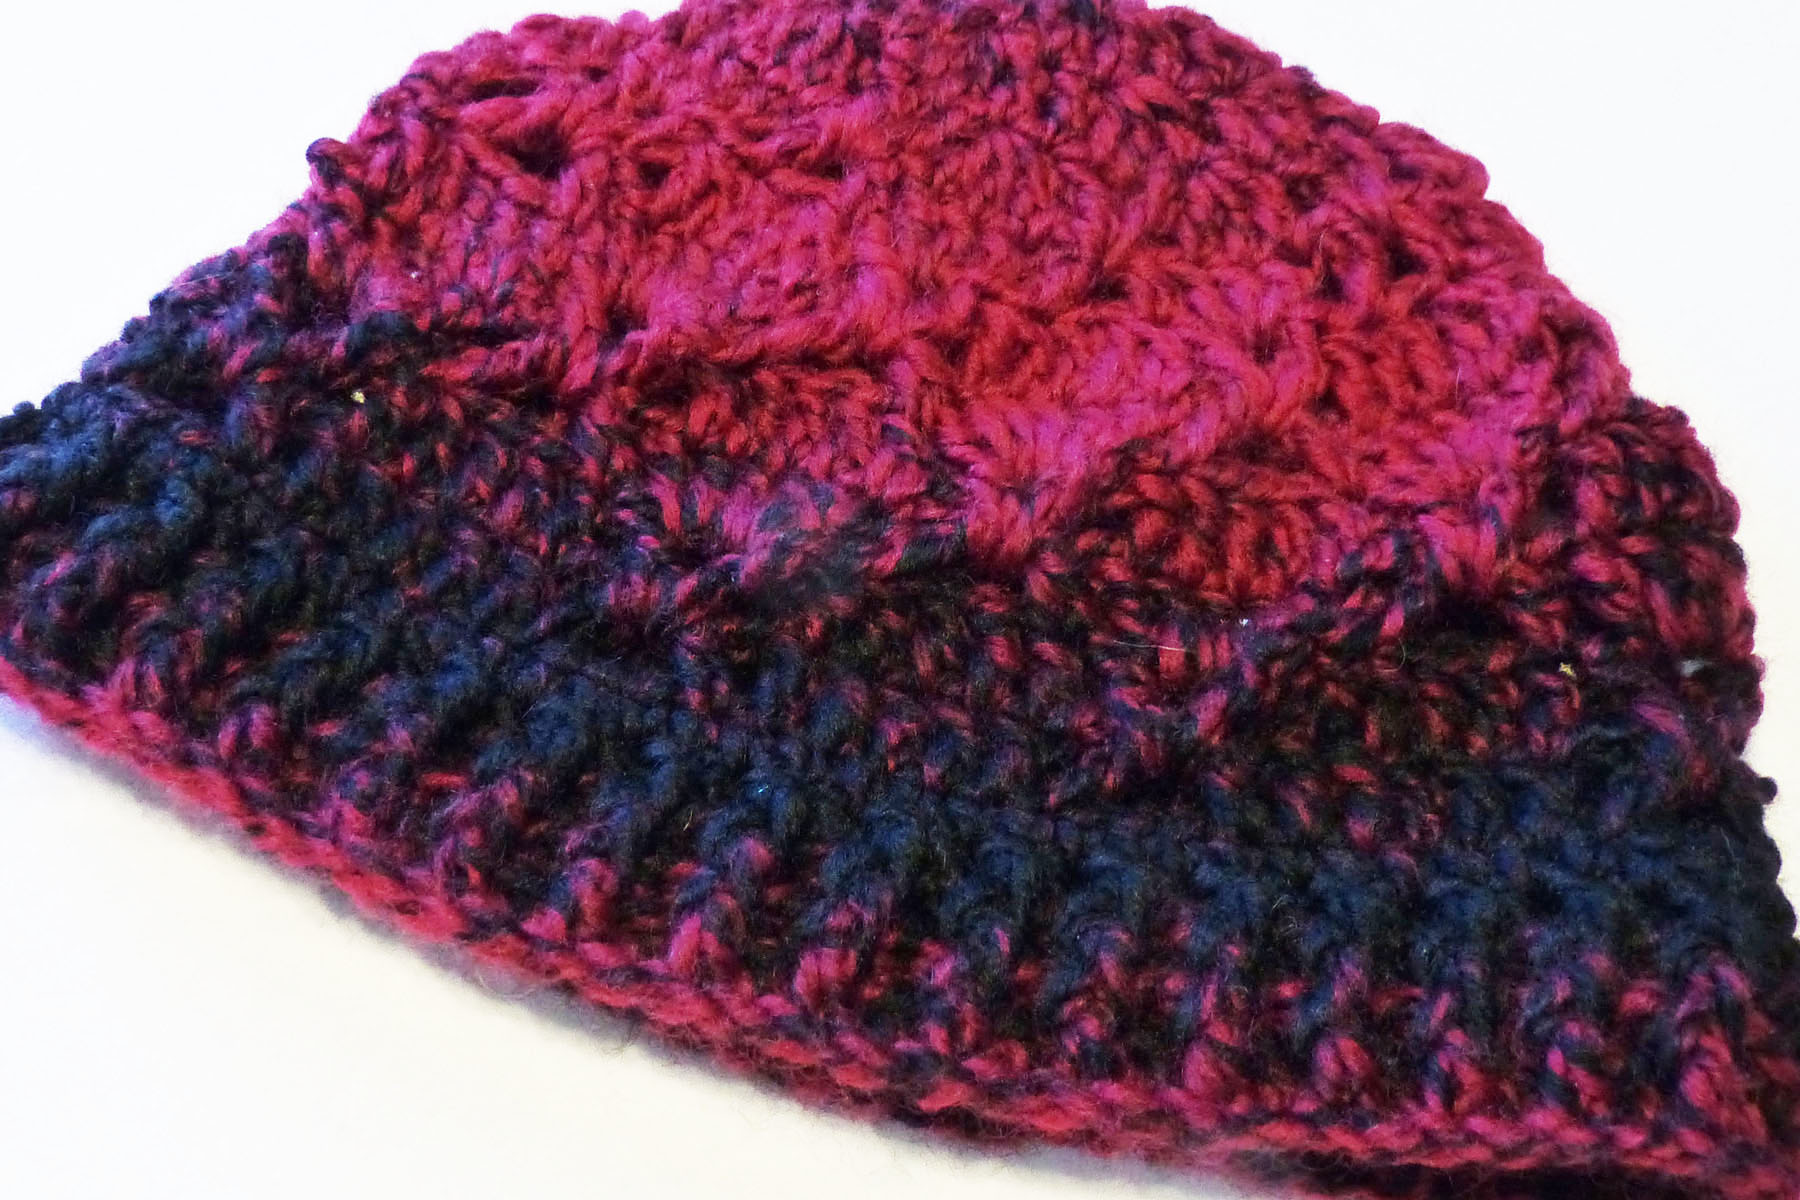
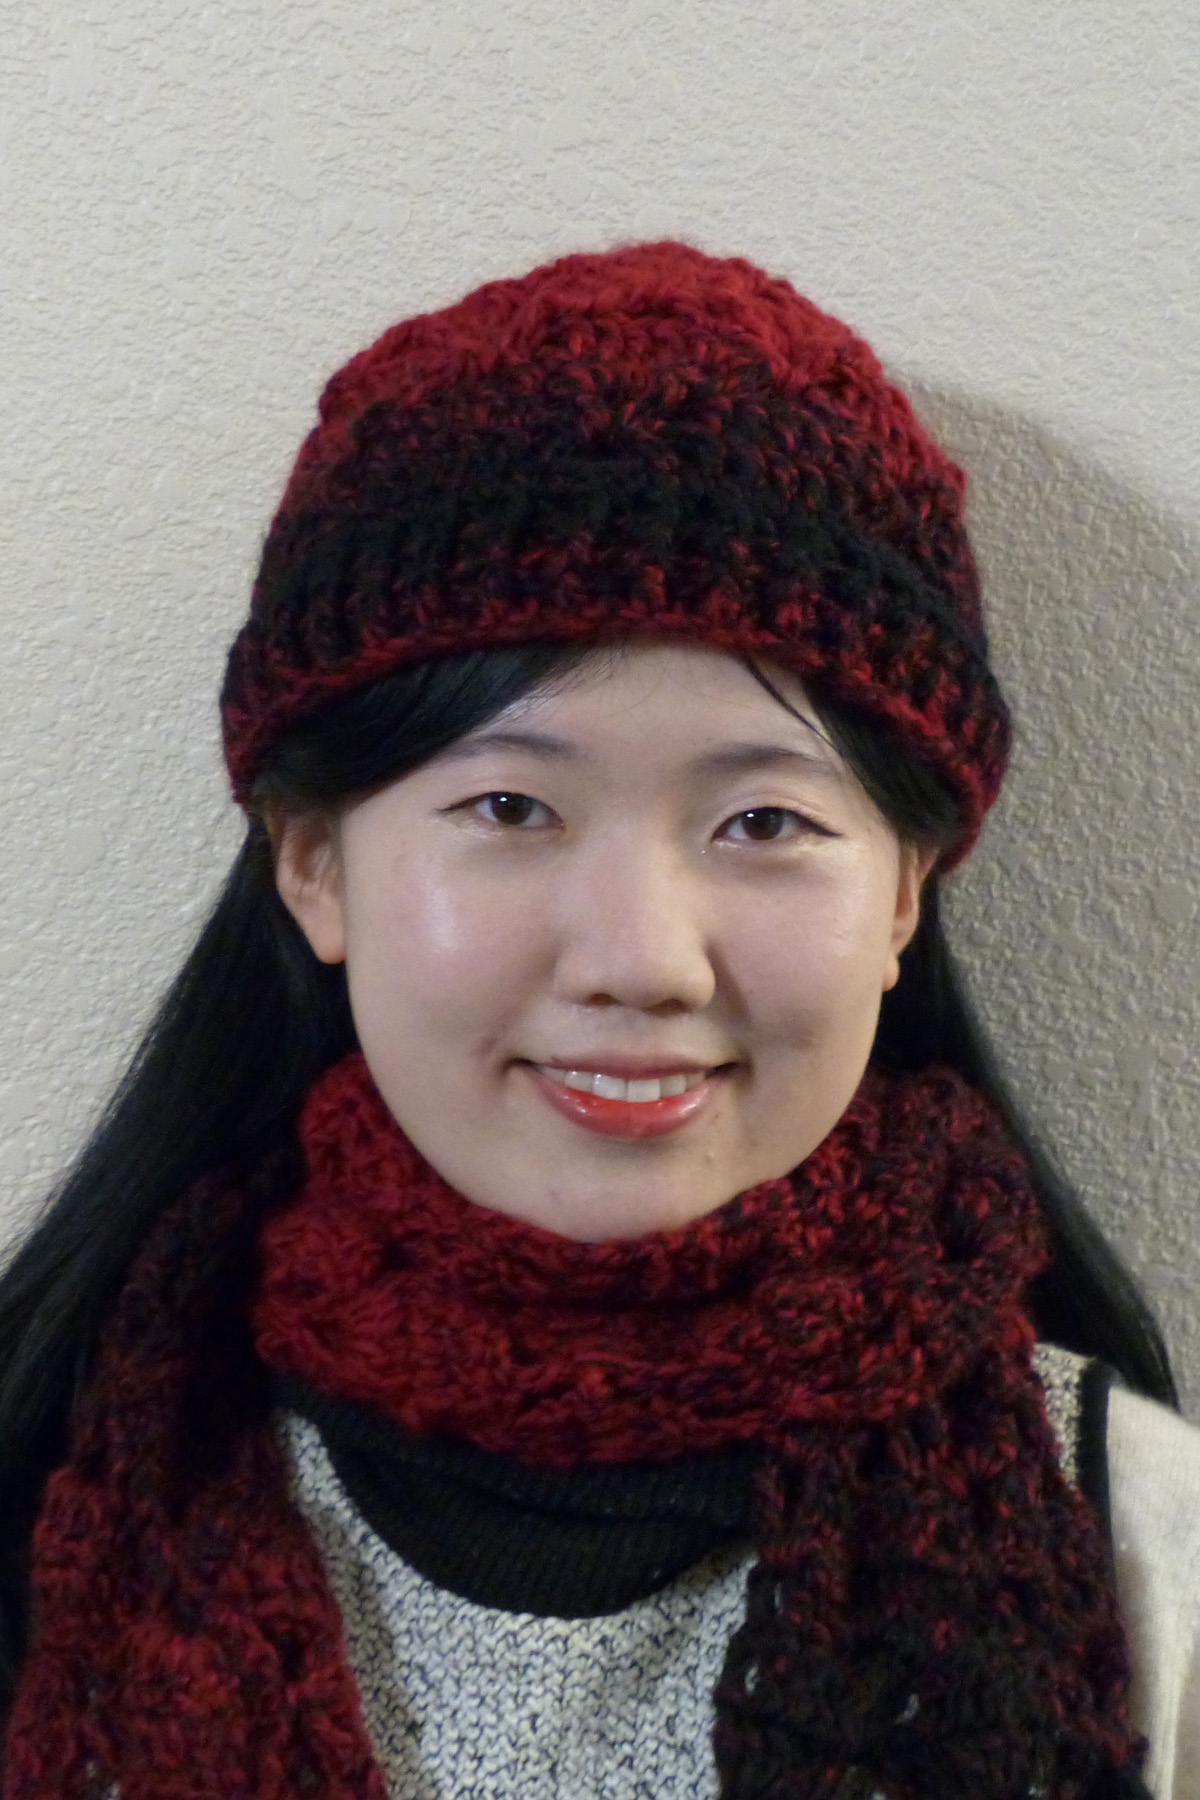
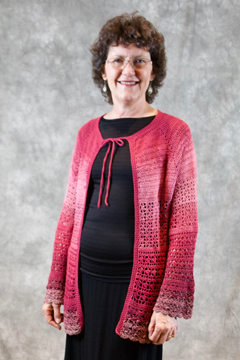
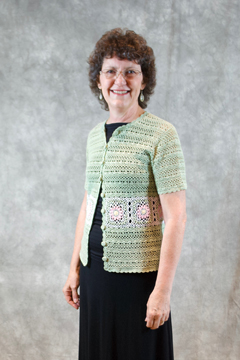
One of my favorite things to do at the conference is model in the fashion show. I’m not a professional model, but it’s a lot of fun! Here are a few things I modeled there:
This is Margaret Hubert’s Pot Pourri cardigan. Isn’t it beautiful? It was very comfortable! I don’t know where this cardigan is published, though.
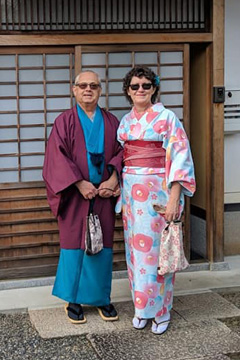
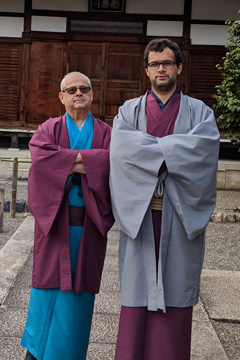
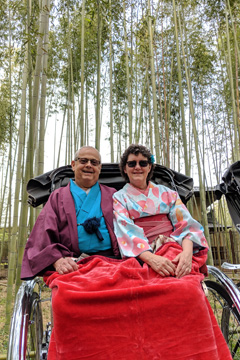
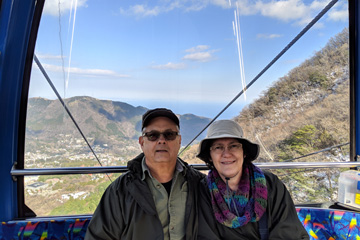
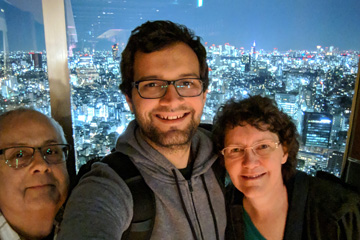
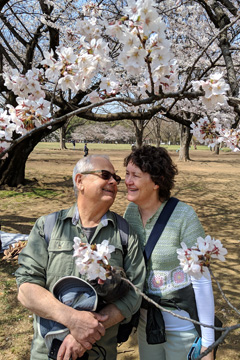
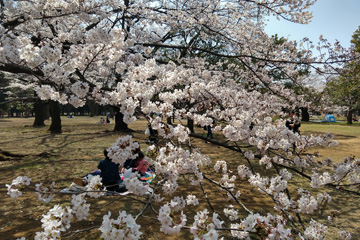
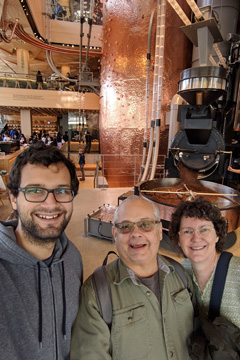
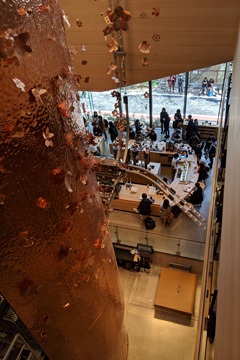
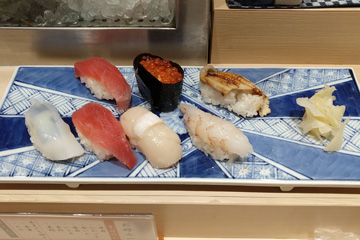
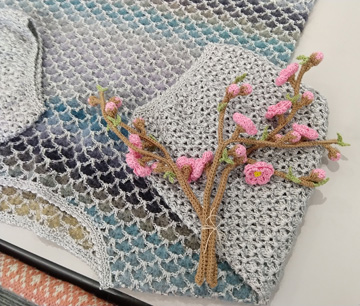
This is my Frosty Lace Cardigan (a thread crochet top) that I designed a few years ago. I lengthened it by about 3” in April or May of this year, after the trip that my husband and I took to Japan in March.
If you’d like to watch a video of the fashion show, check out this video on Facebook. And here are some photos, along with the line-up, of entries in the Fashion Show on the CGOA blog.
Another fun event at the conference was the Friday night sign-along, hosted by Bonnie Barker and Jennifer Ryan. It was so much fun! If you’d like to see a few videos from that night, check out Bonnie’s YouTube channel. Some of the song names were “Will You Crochet Friend, Crochet?”, “Ms. MacDonald Had a Bag of F-I-B-E-R”, “On Top of My Craft Bag” and “Ripping Out is Hard to Do”. It was so fun to sing these silly songs!!! Bonnie and Jennifer did a fabulous job that night, along with 2 of Jennifer’s daughters!
As you can see, the CGOA Conference was a ton of fun! It always is! I met some very nice new friends and enjoyed teaching all of my classes. I hope my students enjoyed my classes and learned everything they wanted to learn in them!
Until next time! Happy crocheting!
Susan