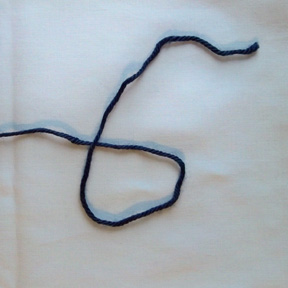
Slip Knot Tutorial

© 2013 Susan Lowman (http://www.TheCrochetArchitect.com)

Update (8/19/20): I’ve made a YouTube video for learning to make a slip knot. You can find it on my YouTube channel here.

Slip Knot 1
Step 1

1. Start with the tail of yarn/thread on the right (or in your right hand) and the yarn/thread coming from the ball on the left (or in your left hand).

Step 2
Step 2

2. Bring the tail up and in front of the end of yarn/thread that is coming from the ball of yarn/thread to make a loop.

Step 3
Step 3

3. Place the tail behind the loop you just made.

Step 4
Step 4

4. Grab the tail that is behind the loop.

Step 5
Step 5

5. Pull the center of the tail through the center of the loop, making sure the end of the tail stays behind the loop and doesn’t go through the loop.

Step 6
Step 6

6. Tighten the knot, but not too tight. The loop that is formed above the slip knot is adjustable.

Step 7
Step 7

7. Place the loop formed above the slip knot on your crochet hook. Tighten the loop until it is snug around the hook, but not too tight. Now you’re ready to make your chain to begin your crochet project!

If you’ve made the slip knot correctly, you can pull on the beginning tail of yarn/thread and your first chain will tighten to make the hole in the center of your work disappear (after you’ve worked your first round of stitches, that is!). But if you’ve made the slip knot backwards, the hole will not disappear. So try again until you get it right. It’s great to be able to close that unsightly hole when the slip knot is worked correctly! Also, when you weave in the beginning tail (which I hope you’ve left 4-6” long), weave it in at the base of the stitches that you work into the ring or into the first chain of the beginning chain (on the wrong side, of course!), like this:


Weaving in the tail at the center of the motif.

After learning to make your slip knot correctly, you may want to make something in which you can close that center hole. Check out the simple 3-Round Granny Square pattern on our “Free Patterns” page to practice making your slip knot correctly and pulling on the beginning tail to tighten the center hole.


Happy crocheting!

Leave a Reply

Your email address will not be published. Required fields are marked *