Yarn Control and Keeping my Sanity!

Have you ever been happily crocheting away and the skein of yarn you’re using starts falling apart in front of your eyes? Well, that happened to me over the past month while working on a crochet design for a publisher. I was crocheting a project that is done in the Fair Isle technique. Oh, you haven’t heard of that technique yet, you say? Karen Whooley has designed a lot of projects in the Fair Isle Crochet technique, which is similar to the Tapestry Crochet technique, but not quite the same. You can see some Fair Isle projects that Karen Whooley has designed over the past 7 years on her Ravelry designer page.  Check out Karen’s Fair Isle Crochet class on Craftsy, too. It looks like it would be a great class to take for those who want to learn to do Fair Isle Crochet!


In Karen’s Fair Isle Crochet technique, she works her single crochet in the BACK LOOP of the stitches (this is different from Tapestry Crochet, which is worked in BOTH LOOPS of the stitches). Karen also carries the non-working color on top of the stitches, encasing it until needed again, just like in the Tapestry Crochet technique. I worked my project in this style of Fair Isle, which worked very well, since the stitches don’t slant (like they do in Tapestry Crochet) and the back of the project looks as neat as the front!


Anyway, back to the trouble I was having with my yarn misbehaving! Since I was using 2 colors in each row of my project, I had to change back and forth between the colors often. And since I always crossed the colors the same way each time (whether that is correct or not, I’m not sure!), the 2 yarns wrapped around each other after a certain number of color changes. So I had to take one skein of the yarn and unwrap the 2 yarns, bringing the skein over and under the strand of the other color yarn many times so they wouldn’t get tangled. But that wasn’t too bad, all things considered. What was bad was how the skein of yarn that I handled a lot to unwrap the 2 yarns starting falling apart on the outside like this:
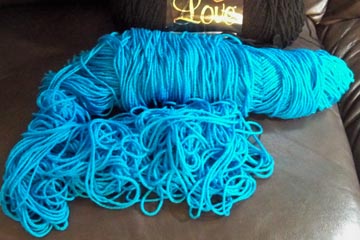
 

Yarn falling apart and getting messy!


After working many rows of my project and having the skeins do this, I decided to do something about it! So I purchased some yarn sleeves to keep the outside of the skeins intact! Here’s one of the skeins with the yarn sleeve in use:
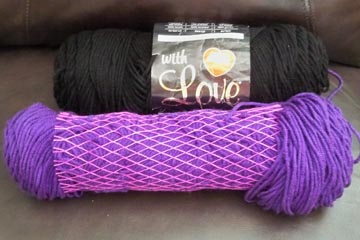
 

Yarn sleeve in use
Yarn sleeve in use


This yarn sleeve really saved my life (that may be a little bit of an exaggeration, but not too far from it)! I had never used or owned a yarn sleeve before, but it was time to give them a try. And I’m so glad I did. The yarn sleeve worked really well at keeping the yarn together when I handled it so much. And that saved a little of my sanity! When I told a friend of mine that I had bought the yarn sleeves to use, she said I could do the same thing with some panty hose! I hadn’t thought of that, but it sounds like it would work. Have you used something else to keep your yarn under control like this?


When I was done with my project, I decided to use my handy yarn winder and turn all the leftover skeins of yarn into neat “cakes” so they’d fit better into the box for storage. They’ll also be easier to use the next time I need to design something with these yarn colors instead of pulling my hair out in the middle of the project trying to untangle them! This is how some of the yarns looked before winding them up for storage:
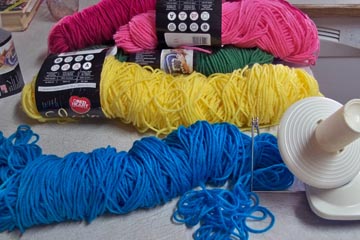
 

Messy yarn!
Messy yarn!


And this is how they looked after winding them up:
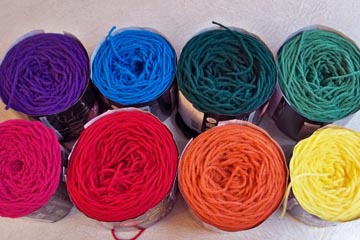
 

Neat cakes of yarn
Neat cakes of yarn


Don’t they look organized and ready to use again? These 8 yarn colors above, plus black, are the colors I used in the project I just completed, which I recently shipped off to the publisher. I can’t show you the project now, but I can show it to you in July or August, after it’s published.


If you’re looking for a way (or 2) for controlling your yarn, I hope you’ll give yarn sleeves and winding the yarn into cakes a try! And if you’re looking for a new/different crochet technique to try, why not try the Fair Isle Crochet technique? It’s actually quite fun and the results are spectacular!


Happy crocheting,

Susan


Winding Yarn into a Ball

Have you ever bought some gorgeous yarn that’s in a hank instead of a ball and asked yourself “How am I going to wind this into a ball”? Obviously, you can’t crochet or knit something with the yarn if it’s in a hank and not a ball or it would tangle uncontrollably! I bought some gorgeous lace weight bamboo yarn at the CGOA Conference in Manchester, NH this year and decided I’d better wind it into a ball so I can use it sometime soon. I love the colors that are in this yarn, don’t you?

Gorgeous bamboo yarn

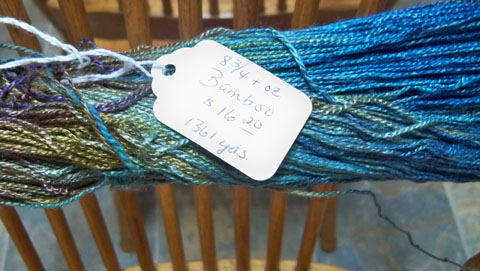
Here’s a look at the tag that came on this gorgeous yarn to see how much yardage I got for my money:

Bamboo yarn tag

This yarn was sold by The Fiber Studio LLC in Henniker, NH. I think the yardage is great for the price and the fiber content (1,361 yards of hand-dyed bamboo yarn for only $16.20)! Anyway, I should have plenty of yardage to crochet something gorgeous, after I decide on the perfect item to make/design with it. I can’t wait!

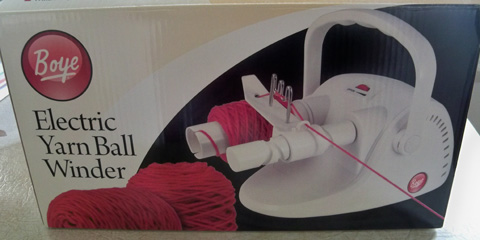
I don’t know about you, but I don’t own a yarn swift yet. However, I do own both a manual and an electric yarn ball winder. I was blessed to win a Boye Electric Yarn Ball Winder at Professional Development Day at the CGOA Conference a few years ago! What a treat! It’s a big time saver, as well as a muscle saver, especially when winding this many yards of yarn!!! But it’s not foolproof. You have to keep an eye on it and make sure nothing goes wrong, so don’t leave the room while it’s winding the yarn! I had a big mess of yarn once when the yarn slid off the winder while it was being wound! If I had been in the same room, I would have noticed it sooner and wouldn’t have had as big of a mess! The electric yarn ball winder does an excellent job of winding the yarn and I really enjoy having it. Here’s a picture of the box for the electric winder:

Boye Electric Yarn Ball Winder

This electric yarn ball winder is available from many websites and at some local craft stores. You can watch a demo video of this yarn winder on YouTube here: http://www.youtube.com/watch?v=Yt83Fui5rDA.

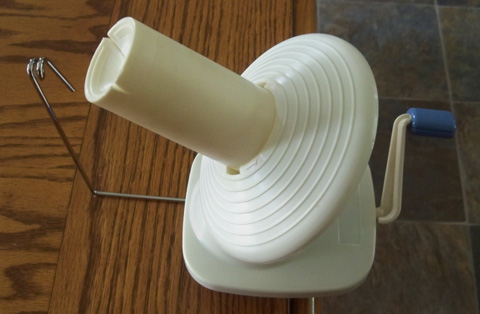
I use my manual yarn winder when I have small amounts of yarn to wind. It hooks onto the table (the table can’t be too thick, though) and you have to manually turn the handle to wind the yarn or crochet thread onto it. I will often slide half of a toilet paper roll onto the center of the manual yarn winder before using it to wind crochet thread so there is a “core” inside the thread when I’m done. It helps to keep all the neatly wound thread together later on. Here’s a picture of the manual yarn winder:

Manual yarn winder

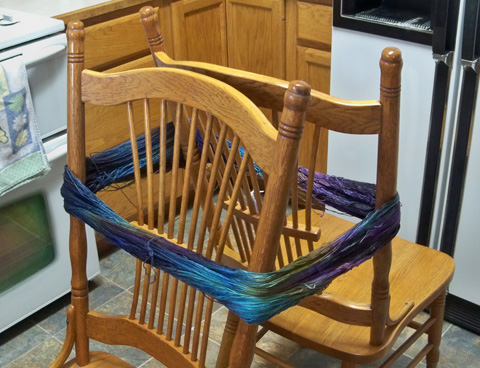
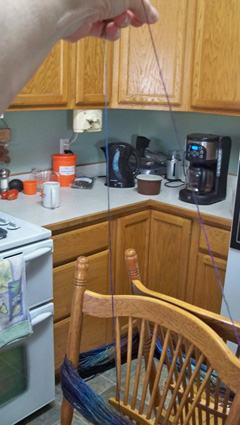
Well, back to my invisible yarn swift (I’ll buy one sometime, I promise!). Since I wanted to wind this yarn and not have it terribly tangled, I had to improvise on a yarn swift. So I put 2 dining room chairs back to back in my kitchen and placed the hank of yarn over the back of the 2 chairs to hold it in place. Then I moved the chairs to the appropriate distance apart to support the yarn. Here’s what the yarn looked like around the back of the 2 chairs:

Improvised yarn swift

After I was satisfied with my makeshift swift, I removed the strand that was tied around the hank. Here’s what the ends looked like before freeing the tied ends:

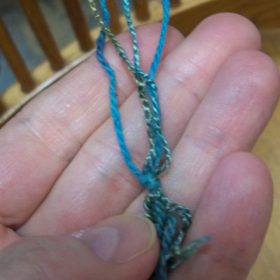
Bamboo yarn ends

There was another 1 or 2 strands of yarn/thread tied around the hank that I removed, also. Then I started winding the yarn with the electric yarn ball winder. Since this yarn is somewhat slippery, I had to tie a knot in the end (to keep it from slipping off) before placing the end into the groove in the center of the yarn ball winder!

Guiding yarn from chairs to winder


Now a real yarn swift would have rotated and done most of the work for me, but I don’t own a swift, remember! So I had to become a “human yarn swift” and guide the yarn above the chairs (because obviously, my chairs don’t rotate)!!! I got a bit of a shoulder and arm workout but not too much!


It took me quite a while to wind the yarn, but it was definitely worth it. Now I’ll be able to use this yarn when I have an idea of what it wants to be (and when I have the time to devote to this project)!


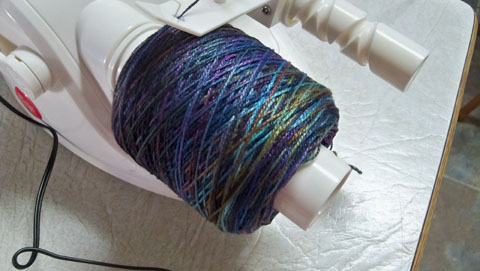
Doesn’t this look nice and neat? This electric winder really does a nice job. I can pull the yarn from the center or the outside of the ball, whichever I choose.


Yarn on winder

If you use another method to wind your yarn into nice, neat balls, please share it with all of us here at The Crochet Architect! Or if you own an electric yarn ball winder, let us know how you like it!


Happy crocheting,

Susan