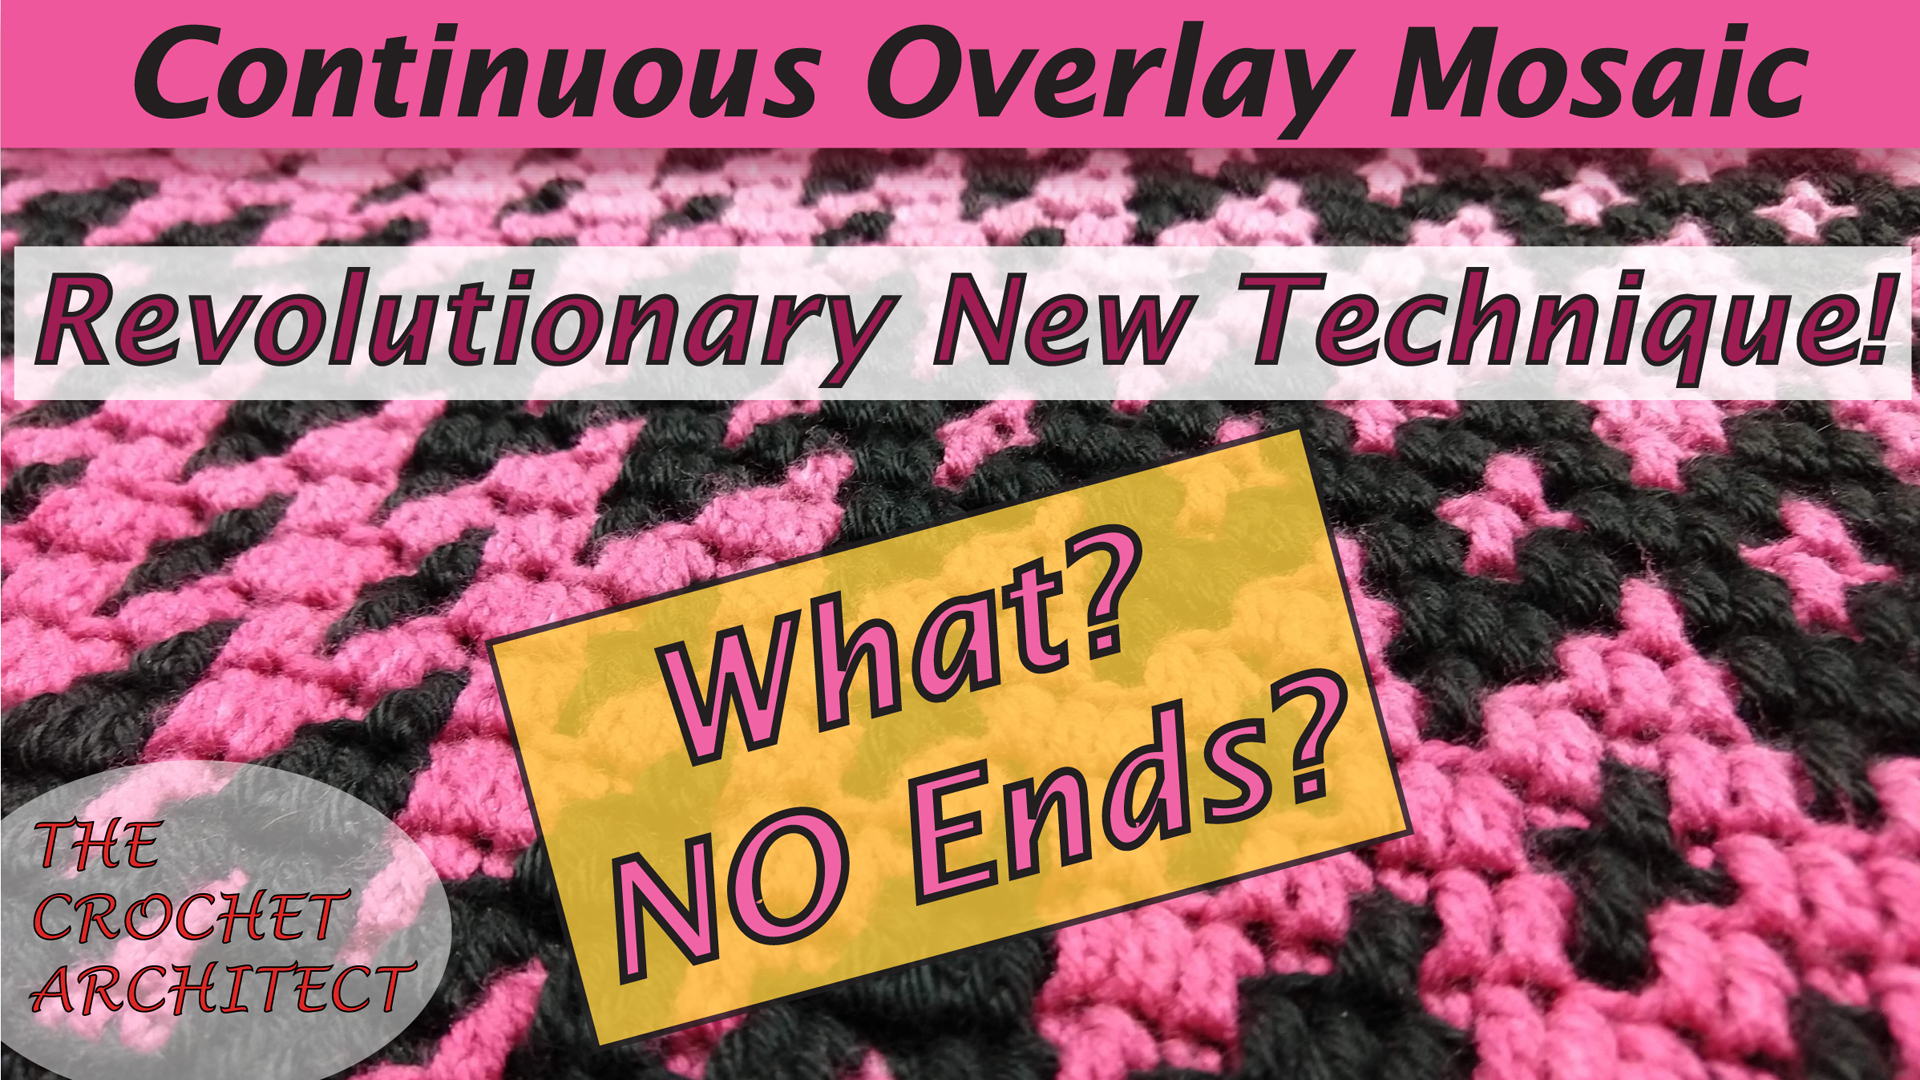
I’m very excited to reveal a new, revolutionary crochet technique that I developed several years ago. I call this technique “Continuous Overlay Mosaic Crochet”, or “COM”, for short! If you love the look of Overlay Mosaic Crochet, which has a gazillion ends to weave in, make into fringe or cover with a double border, you’re going to go crazy for this new technique! There are virtually “NO ENDS” to deal with in my COM technique!
I have a new YouTube video where I’ll teach you all you need to know to successfully crochet your Overlay Mosaic Crochet projects with my COM technique to eliminate all those pesky ends!
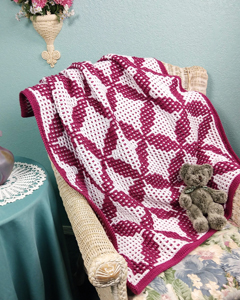
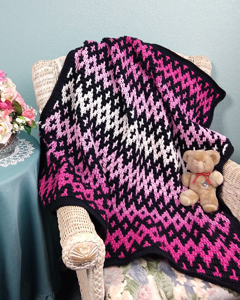
I also have 2 new Overlay Mosaic Crochet blanket patterns using my new, revolutionary COM technique: my Wedding Ring Blanket (below left) and my Dueling Diamonds Blanket (below right)! These comprehensive patterns include full written instructions for each row of the blanket, a mosaic chart (if you prefer to use charts), instructions and step-by-step photos for my Anchored dc stitch (Adc) stitch and for using the COM technique, a check list to keep track of which row you’re working in the pattern, as well as the full yardage needed to crochet these blankets (including the little bit of extra yardage needed for making the blankets in my COM technique, WITHOUT ALL THOSE ENDS!).
In my opinion, the extra yardage that this technique uses FAR outweighs the fact that you eliminate virtually all of the ends in your project! In fact, I only had 30 ends total to weave in on my Dueling Diamonds Blanket instead of over 250 ends! That’s a huge difference!
If you’d like to use this technique in an Overlay Mosaic Crochet pattern that you’ve already purchased somewhere else, check out my Continuous Overlay Mosaic Crochet video to find out how to calculate the extra yardage to use the COM technique in that pattern.
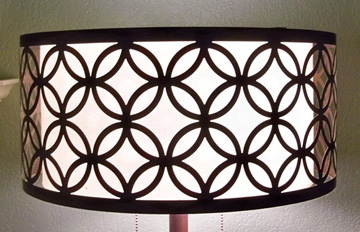
The inspiration for my Wedding Ring Blanket came from the lampshades in my master bedroom. I’ve admired this geometric pattern for years and now I have a crochet blanket pattern with this lovely design in it! Here’s a photo of one of those lampshades:

My revolutionary COM technique for having virtually NO ENDS only works with my Anchored dc stitch and “Overlay” Mosaic Crochet, which is worked with all right-side rows, alternating color every row. This gives you 2 yarn ends for every row you crochet (one at the beginning of the row and one at the end of the row). That’s a lot of ends to deal with in the regular method of Overlay Mosaic! Who wants all those ends? Certainly NOT me!
“Inset” Mosaic Crochet doesn’t have all those ends to deal with because it’s worked with 2 rows of each color and the yarn is carried up one side of the project to be used again. Inset Mosaic Crochet doesn’t have as crisp of a design as Overlay Mosaic Crochet, so it’s not quite as popular as Overlay Mosaic.
If you’ve never worked either method of Mosaic Crochet, check out my Overlay Mosaic Crochet video and/or my Inset Mosaic Crochet video on my YouTube channel to learn how to do these 2 fabulous crochet techniques! There’s no changing colors across the rows of either Mosaic Crochet technique, which makes them much easier to do!
I hope you enjoy my new Continuous Overlay Mosaic Crochet technique. I also hope it saves you lots of frustration and time in your Overlay Mosaic Crochet projects by eliminating all those pesky ends!
I’d love to hear your comments about this new crochet technique. Is it helpful for you?
Happy crocheting!
Susan
Submit your review | |
I was reluctant to try overlay mosaic crochet, because I HATE working in the ends, whether in crochet or knitting. (LOVE the creation, and loathe the finishing, although of course, I comply, lol) Inset crochet is fine, but since it affects the dimensions of the design by requiring additional rows, it isn't perfect. The COM technique is wonderful!! Thanks!
I'm so glad you like my COM technique for Overlay Mosaic Crochet! I hope you enjoy using it for your Overlay Mosaic Crochet projects for many years!


Very clever Susan! Brilliant!
Thanks, Linda! I use my COM technique for all my Overlay Mosaic Crochet projects worked in rows, even afghans/blankets. I find it gives them more strength.
I buy patterns, tried standard mosiac inset and overlay, horde the yarn…but with your help, I might actually finish something. I have watched your video and purchased both Dueling Diamonds & Wedding Ring Blanket pattern to gift one each to my two grandsons’ weddings at the end of this year. Thank you for clear instructions.
Ida,
You’re very welcome! Thank you for taking the time to let me know that my videos and patterns are worthwhile to you. And thank you for your pattern purchases! I hope both of your mosaic afghans turn out beautiful for your 2 grandsons’ weddings! If you have any questions about either of these patterns, please don’t hesitate to ask.
Happy Mosaic Crocheting,
Susan
I have just been introduced to your marvelous method. I just love it and agree with you that the extra yarn being used for carrying the yarn across outweighs the yarn and time required to cut the ends and do the envelope border. I am having difficulty trying to figure out a generalized formula to calculate how much more yarn would be required if I am doing other mosaic patterns. I would greatly appreciate any help you can give me so I would have an idea of how much extra yarn to purchase for patterns that do not use your method. Thank you so much for reading this.
Denise,
I’m glad you like my COM method for Continuous Overlay Mosaic Crochet. Unfortunately, I don’t have an easy answer for a formula to calculate how much more yarn would be required to do a mosaic crochet pattern that doesn’t use my COM technique. It all depends on the width of the project rows and how long of tails the designer used for her stitches project. Some designers leave a very short tail (less than 2″) and others leave longer tails (around 6″). When I calculate how much extra yarn would be required, I’d calculate on the side of having more yarn than not enough. If you take the width of each row and subtract the average tail length of 4″ or so (at each end, so double that to be 8″), you’d come pretty close to what you’d need for each row. Some mosaic patterns only use 2 colors (main color and contrast color). Other mosaic patterns use quite a few colors with different sections of each color combination. So you’d need to do the calculations for the specific pattern you’re seeking to make. A rough estimate might be about 10-20% more yarn, but that’s just a guess. The longer/wider the rows, the more yarn that would be needed, since the tails would be approximately the same length at each end. Obviously, more yarn is needed to crochet stitches (sc and dc) than is required to carry across the rows.
I hope this helps.
Happy mosaic crocheting,
Susan
Thank you so much for this very thorough explanation. It really gives me a great jumping off point as to how to figure out the yardage. It’s so kind of you to respond so promptly. I really appreciate your kindness.
You’re very welcome, Denise! I hope your mosaic crochet projects turn out wonderful using my COM technique!
I would love written instructions for this perfect overlay technique. Are there any written instructions I could download?
Thank you
Karen,
The written instructions for my Com technique are included in my Dueling Diamonds Blanket pattern and my Wedding Ring Blanket pattern (written instructions along with step-by-step photos). When you purchase and download either of these patterns, you’ll be able to follow the written instructions for my COM technique.
Happy Mosaic Crocheting,
Susan
I enjoyed learning the inset technique . . . but had trouble finding the free chart to download & print. Please help!
Susan,
I’m glad you enjoyed learning the inset mosaic crochet technique. The free chart and written instructions for the inset mosaic crochet swatch can be found on my free patterns page here: https://thecrochetarchitect.com/downloads/inset-mosaic-crochet-swatch-charts-written-directions/.
Happy crocheting,
Susan Lowman