Introducing my Majestic Butterfly Afghan! This afghan was previously published many years ago by Annie’s, but has since been retired. I recently received the copyright back to this beauty, so I wanted to make the pattern available to other crocheters instead of it never being available again!
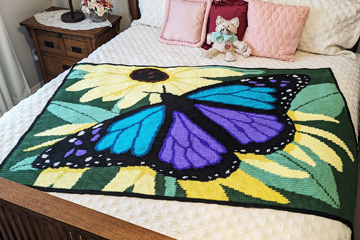
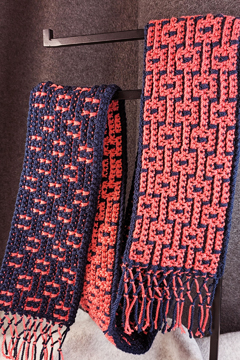
This beautiful afghan is made in the Intarsia Crochet technique with sc stitches used throughout. Another term that is used for this crochet technique is “graphghan”. In this afghan, the first and last 2 rows are worked in one color (black), but the rest of the rows are worked with color changes throughout. If you’re a fan of kits, the kit is available through Mary Maxim here.
There are at least 2 ways to work the color changes. All ways involve working the last stitch of one color until you have the last 2 loops on the hook like this: “insert hook in next stitch and draw up a loop, drop old color, yarn over with new color and draw through both loops on hook”. The different ways to work the Intarsia technique involve where to drop the old color. One way has the old color dropped to the front of the work, whether you’re working on a right-side row or a wrong-side row. The other way has the old color dropped to the wrong side of the work. That means you’ll be dropping the old color to the back of the work when working a right-side row and to the front of the work when working a wrong-side row.
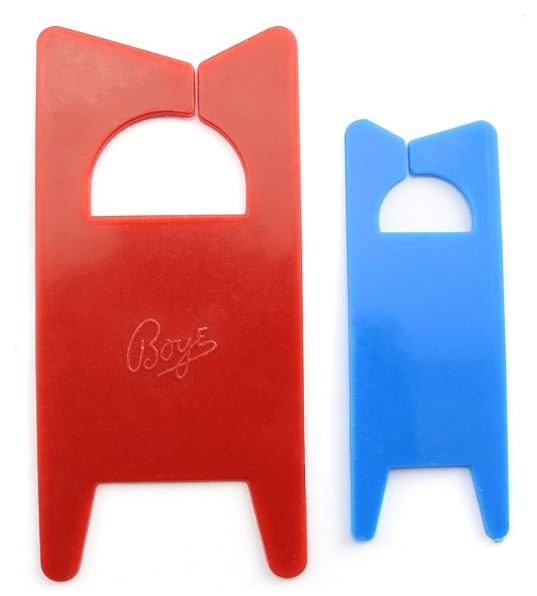
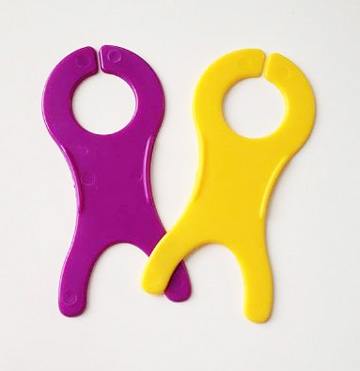
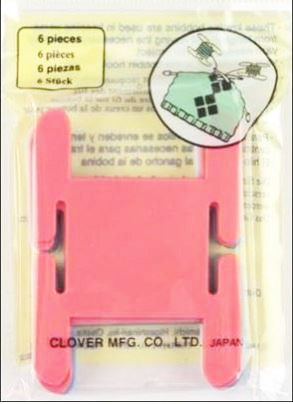
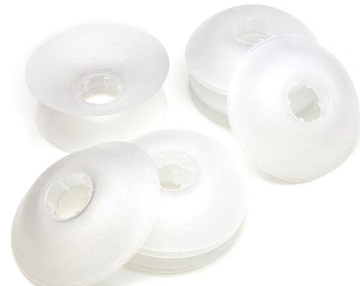
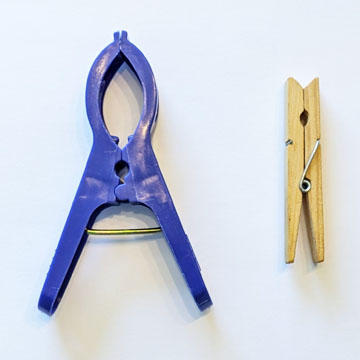
The key to working intarsia crochet (or graphghans) is to use bobbins for each of the separate colors used in the rows. This helps keep the yarns from getting tangled across the rows. The bobbins can be nothing more than a simple DIY type made from cardboard. They can also be made from plastic, coming in many different shapes and sizes. You can also use clothespins of various sizes, made from various materials such as plastic or wood. I found a year or two ago at Dollar Tree. They were $1.25 for 6 of them. They can also be round, encasing the wound yarn inside them. Here are some examples of bobbins used for Intarsia Crochet:
Whichever type(s) of bobbins you use, you’ll need to wind them with the yarn colors you’ll be using. You can wind lots of yarn on each bobbin or figure out the amount of yarn needed for a certain section that will be worked with that color and only wind the amount of yarn you’ll need. The way I figure out the amount of yarn to use is by working a gauge swatch to know the number of sc stitches I get with the hook size I’ll be using. Then I count the number of squares of that color in the section I’ll be working on the chart and divide by the number of stitches I got to come up with the number of yards to wind on that bobbin. I ALWAYS add another 18” – 36” of yarn for wiggle room, as well as leaving a tail at the beginning and end of that section of stitches to weave in and/or work over.
Weaving in the ends can be tedious, but well worth it if done securely. When possible, weave the ends in several directions so they don’t worm their way out when the item is used extensively, like an afghan. ALWAYS weave in the ends in a section of the same color, NEVER in a section of another color!
When working from a chart, each square represents one stitch. If the chart has many rows and many stitches in each row, print out sections of the chart on separate pieces of paper and tape them together. If needed, enlarge the chart to do this. The chart for my Majestic Butterfly Afghan is broken up into 4 “quarter” charts for this purpose (top left, bottom left, top right and bottom right). If the chart was just one chart on the page, the squares would be too small to see accurately. With the chart broken up into 4 charts, the squares are much easier to see, since the squares are larger.
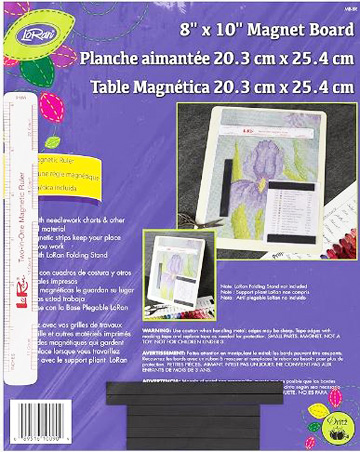
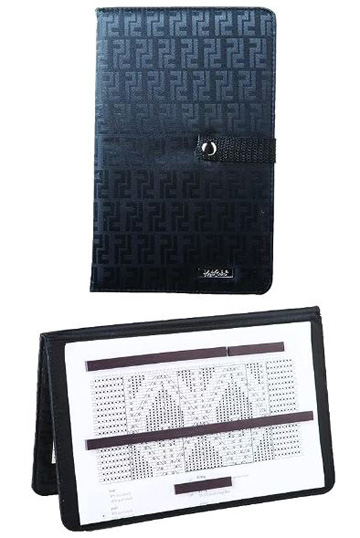
One thing I HIGHLY recommend when following a crochet chart is to use a magnetic board. I’ve used mine for decades now! It’s great to use for all kinds of charted crochet projects and makes it so much easier to keep my place, even on small projects. On large projects like my Majestic Butterfly Afghan, it’s a MUST (in my opinion)! If the chart is too big for the magnetic board, you can mark off the squares/rows that you’ve worked with a sharpie, pen or pencil instead of using the board. I have 2 magnetic boards now and if needed, I could place them side by side to make a larger magnetic board (if working at a table and not in my living room chair, which is where I typically crochet at home). Here are just a few of the styles of magnetic boards available on Amazon:
The Majestic Butterfly Afghan is a large project that can be easier to work at a large table, such as a dining room table or crochet/craft table. It’s easier to work right-side rows while seated at one side of the table and wrong-side rows while seated at the other side of the table, minimizing the need to turn the afghan at the end of each row. Simply move yourself to the other side of the table instead (it’s good to get up and move anyway, so this helps us get some exercise during the project). It also eliminates the need to keep moving the multiple bobbins of yarn and straightening them out across the row! Another option would be to work the afghan at the table on top of a towel. When you finish a row, simply rotate the towel (with the bobbins) so you can work the next row.
Go HERE to purchase the Majestic Butterfly Afghan pattern and get started on your next masterpiece crochet project!
I hope you’ll give Intarsia Crochet a try. Start with a small, easy project and work up to this Majestic Butterfly Afghan or a similar intarsia/graphgan project. You’ll be amazed at what beauty you can create!
Happy crocheting,
Susan Lowman
The Crochet Architect