Spike DC Mosaic Crochet Video & New Rug Pattern

mosaic crochet rug

Do you love the look of Mosaic Crochet, but wish it was reversible? Well now it is, with no extra work!

I’ve been having fun with a hybrid style of Mosaic Crochet using Spike DC stitches (SPdc for short). With this style of Mosaic Crochet, you still work 1 row of each color and each row on the right side, like Overlay Mosaic Crochet. You work chain spaces, like in Inset Mosaic Crochet, but you only work 1 row of each color. Instead of working your dc, drop down dc, Anchored dc (or whatever you want to call them) in front of the other stitches, you work your Spike DC stitch “around” the other stitches, which makes your projects reversible!
mosaic crochet rug
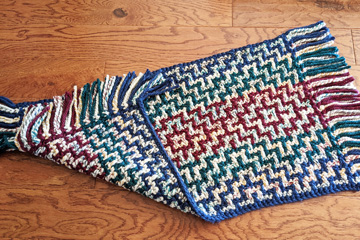
Reversible Sashiko Mosaic Crochet Rug

I also have a brand new Mosaic Crochet pattern using the Spike DC Mosaic Crochet technique. This pattern is my Reversible Sashiko Mosaic Crochet Rug. It uses some Lion Brand Thick & Quick yarn, along with some Lion Brand Hometown USA yarn that I’ve had in my stash for several years.

When I saw this Lion Brand Wool-Ease Thick & Quick yarn in the Hudson Bay color at my local Walmart store, I knew I had to design something special with it. I used this yarn, along with 3 coordinating solid colors of Lion Brand Hometown USA to design and crochet my Reversible Sashiko Mosaic Crochet Rug pattern. This pattern shows the contrast between the solid, dark colors and the lighter, multi-colored yarn perfectly!

You may ask me why I used the word “Sashiko” in the name of this pattern. Well, I’ve been looking at and playing/designing with Japanese Sashiko embroidery patterns for several years now and I LOVE them!!! They’re mostly geometric, which I LOVE! I’ve got more Sashiko crochet patterns in the works, so stay tuned for those in the near future. I’ve even started learning to do Sashiko embroidery! What fun!!!

So back to my new rug pattern. It’s made with 5 skeins of yarn: 2 skeins of the LB Wool-Ease Thick & Quick and 3 skeins of the LB Hometown USA (1 skein in each of the 3 solid coordinating colors). I used a size “N” crochet hook, which is 10 mm. I started and ended each row, turning the tails into fringe after crocheting all the rows of the rug. I absolutely love this rug being reversible!

To learn this technique, watch my new YouTube video, where I demonstrate the Spike DC Mosaic Crochet technique.

I also created a FREE download for a Spike DC Mosaic Crochet swatch that I demonstrate in the YouTube video. You can download the free chart, along with instructions for working the swatch with either my COM technique (with very little tails) or with traditional Mosaic Crochet, starting and ending each row (with 2 tails for each row).

Once you learn this fabulous Spike DC Mosaic Crochet technique, you’ll be confident to crochet my new Reversible Sashiko Mosaic Crochet Rug!

I hope you’ll give this Spike DC Mosaic Crochet technique a try very soon. It’s a fabulous technique for crocheting reversible Mosaic Crochet projects with no extra effort!

Happy Mosaic Crocheting to you!

Susan

Learn My New REV-COM Technique

Persimmon Flower Scarf

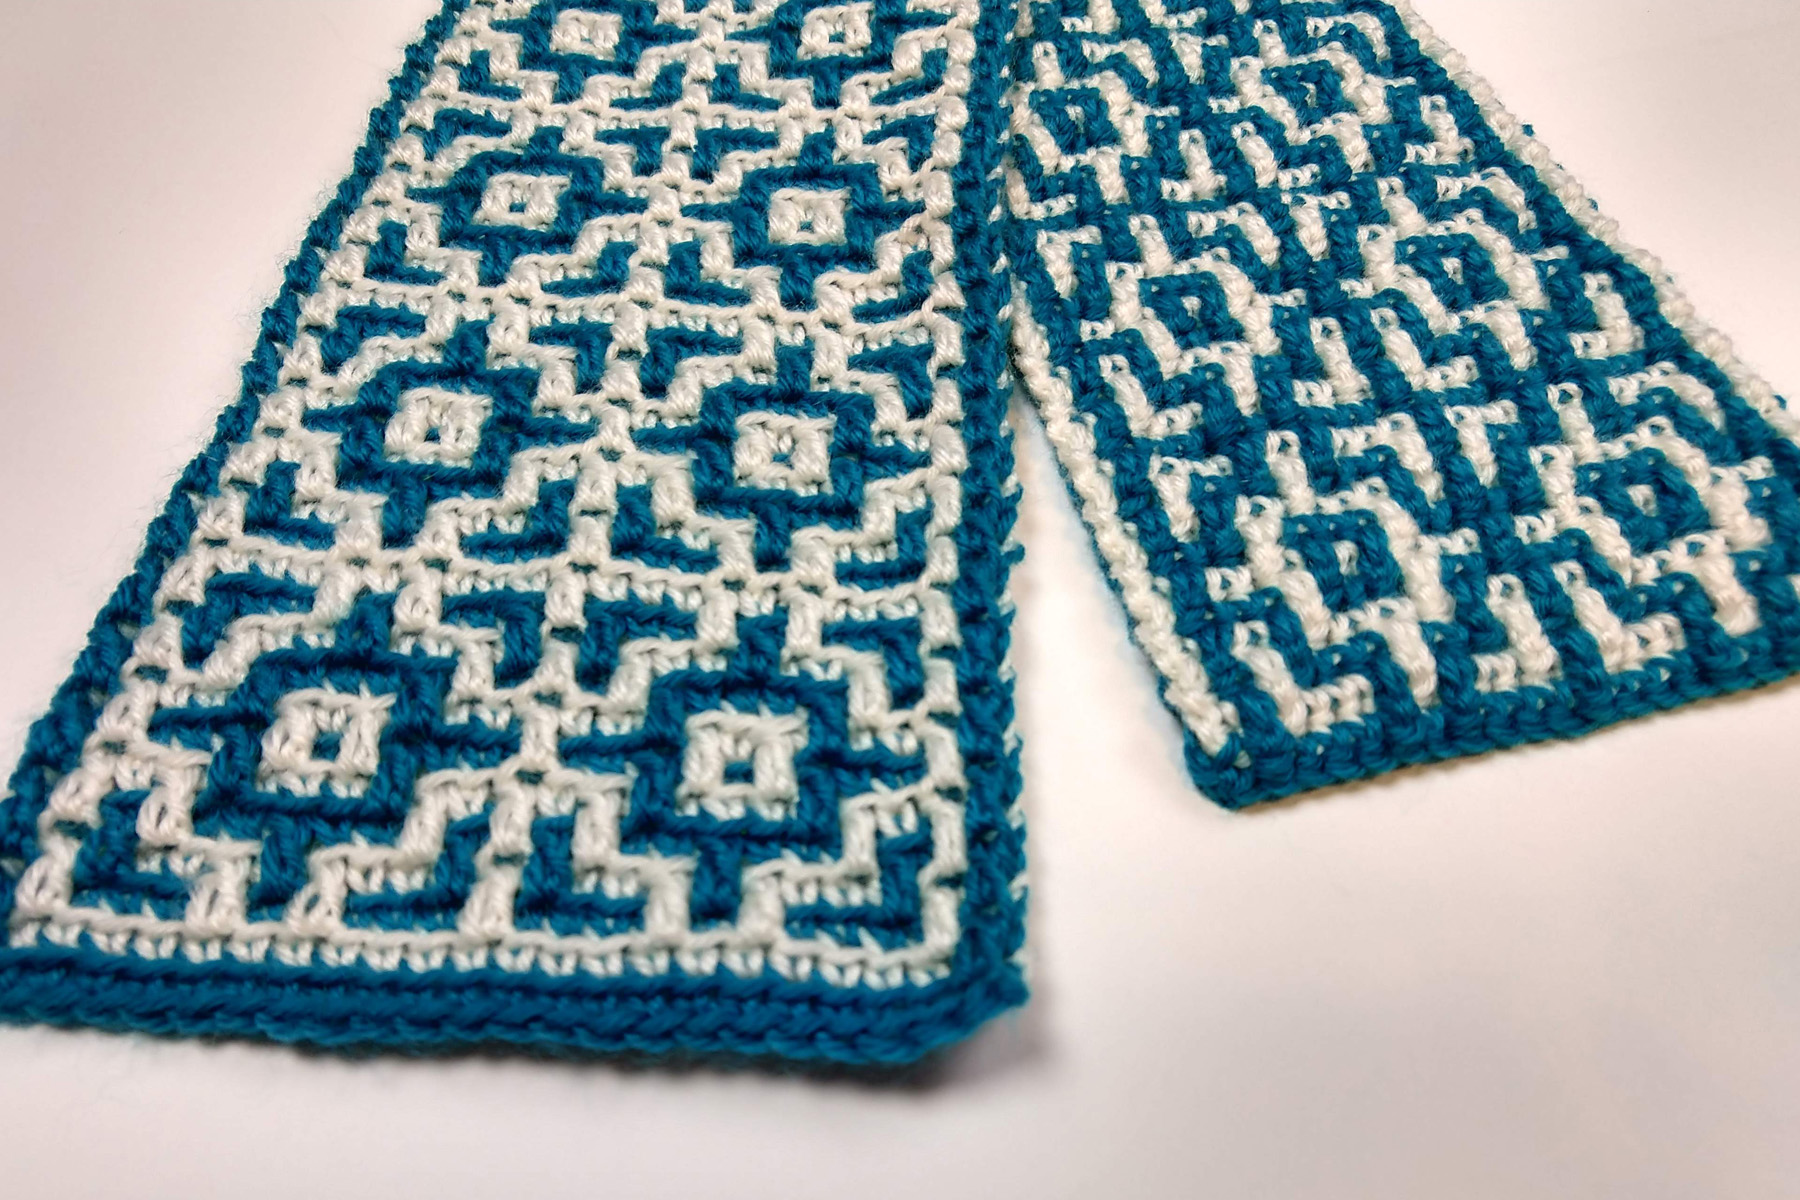
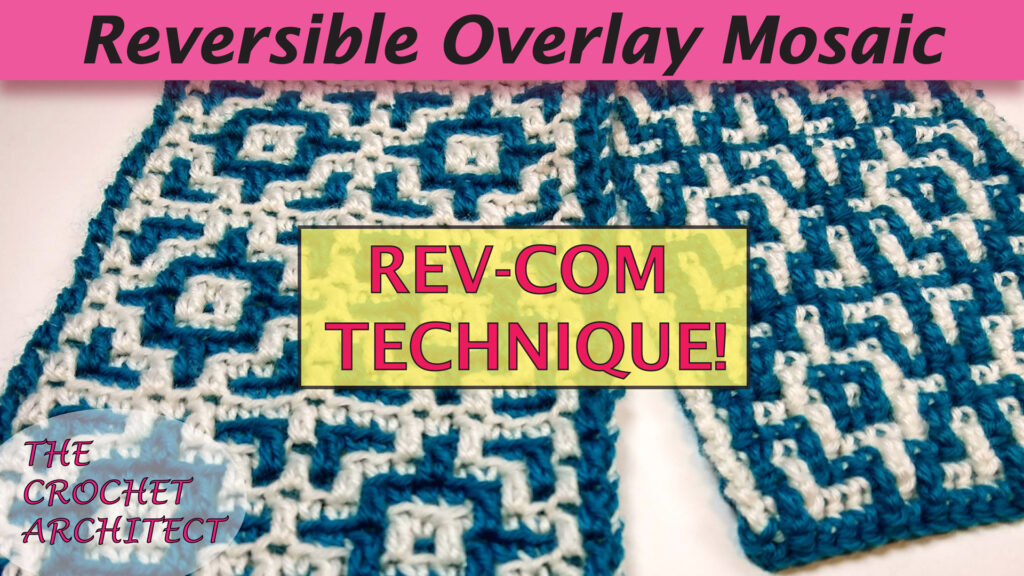
If you’re wondering if you can make your Overlay Mosaic Crochet projects reversible, then wonder no longer! They absolutely CAN be made reversible with REV-COM (Reversible Continuous Overlay Mosaic Crochet)! And the results are stunning!

Rev-Com

I’ve been playing around with Mosaic Crochet for several years and learning more about the characteristics of this fabulous crochet technique! I have a new YouTube video to teach you how to make your Overlay Mosaic Crochet projects reversible. In this reversible technique, I’ve tweaked my Adc (Anchored double crochet) stitch a little. This small tweak has allowed me to make my Overlay Mosaic Crochet projects reversible! And I’d like to share what I’ve developed with you so you can make your Overlay Mosaic Crochet projects reversible, too!

Persimmon Flower Scarf

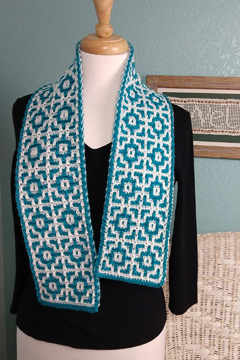
I also have a new Reversible Continuous Overlay Mosaic Crochet (REV-COM) pattern that’s completely reversible. It’s my “Persimmon Flower Scarf”, made with DK weight yarn and a size F/5 (3.75mm) crochet hook. This scarf is worked in short rows (the width of the scarf) so it’s easy to learn this technique with a minimum of mistakes along the way. Who wants to go back hundreds of stitches to correct a mistake in a scarf/project? Certainly not me!


I find that the reversible projects are thicker than one-sided projects, so I used a thinner yarn and a smaller hook to compensate for the additional thickness. This scarf is adjustable in width and length, so you can make your reversible scarf any size you want.

The pattern includes instructions for how to adjust the size of your scarf, full written instructions for each row of the scarf, a chart to use if you prefer working from charts, as well as instructions (and step-by-step photos) for making the FLdc, AdcRS, AdcWS and using the Continuous Overlay Mosaic Crochet (COM) technique.

I’d like to tell (warn) you that when you’re making a reversible project, there are more opportunities for making mistakes. Therefore, I’m making a separate video to teach you how to correct some of the most common mistakes you can make (like me) in your REV-COM projects! That video will be coming out soon!

Obviously, making your project reversible will use more yarn than if you made it one-sided, with stripes on the back, instead of the mosaic pattern on the back. I’m estimating that this reversible technique uses about 15% – 30% more yarn, depending on the number of FLdc (front loop double crochet) or Adc (anchored double crochet) in the pattern. I think the extra yarn is well worth it because both sides are beautiful instead of just the front!


If you’re an intermediate to advanced crocheter (or an adventurous crocheter), watch my YouTube video to learn how to make your Overlay Mosaic Crochet projects reversible today!


Happy Reversible Mosaic Crocheting to you!

Susan