Have you ever been happily crocheting away and the skein of yarn you’re using starts falling apart in front of your eyes? Well, that happened to me over the past month while working on a crochet design for a publisher. I was crocheting a project that is done in the Fair Isle technique. Oh, you haven’t heard of that technique yet, you say? Karen Whooley has designed a lot of projects in the Fair Isle Crochet technique, which is similar to the Tapestry Crochet technique, but not quite the same. You can see some Fair Isle projects that Karen Whooley has designed over the past 7 years on her Ravelry designer page. Check out Karen’s Fair Isle Crochet class on Craftsy, too. It looks like it would be a great class to take for those who want to learn to do Fair Isle Crochet!
In Karen’s Fair Isle Crochet technique, she works her single crochet in the BACK LOOP of the stitches (this is different from Tapestry Crochet, which is worked in BOTH LOOPS of the stitches). Karen also carries the non-working color on top of the stitches, encasing it until needed again, just like in the Tapestry Crochet technique. I worked my project in this style of Fair Isle, which worked very well, since the stitches don’t slant (like they do in Tapestry Crochet) and the back of the project looks as neat as the front!
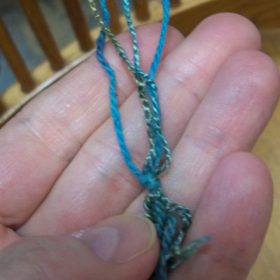
Anyway, back to the trouble I was having with my yarn misbehaving! Since I was using 2 colors in each row of my project, I had to change back and forth between the colors often. And since I always crossed the colors the same way each time (whether that is correct or not, I’m not sure!), the 2 yarns wrapped around each other after a certain number of color changes. So I had to take one skein of the yarn and unwrap the 2 yarns, bringing the skein over and under the strand of the other color yarn many times so they wouldn’t get tangled. But that wasn’t too bad, all things considered. What was bad was how the skein of yarn that I handled a lot to unwrap the 2 yarns starting falling apart on the outside like this:
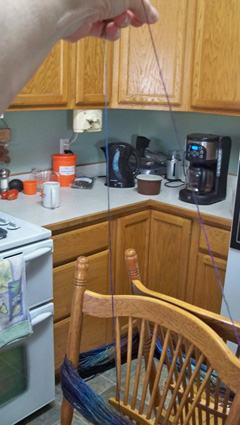
After working many rows of my project and having the skeins do this, I decided to do something about it! So I purchased some yarn sleeves to keep the outside of the skeins intact! Here’s one of the skeins with the yarn sleeve in use:
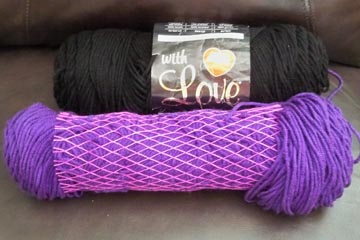
This yarn sleeve really saved my life (that may be a little bit of an exaggeration, but not too far from it)! I had never used or owned a yarn sleeve before, but it was time to give them a try. And I’m so glad I did. The yarn sleeve worked really well at keeping the yarn together when I handled it so much. And that saved a little of my sanity! When I told a friend of mine that I had bought the yarn sleeves to use, she said I could do the same thing with some panty hose! I hadn’t thought of that, but it sounds like it would work. Have you used something else to keep your yarn under control like this?
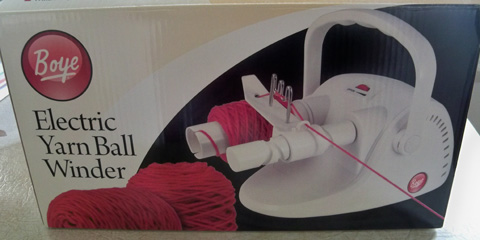
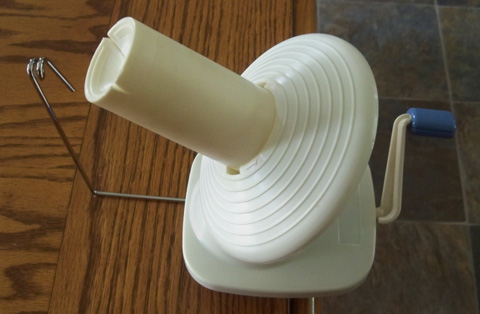
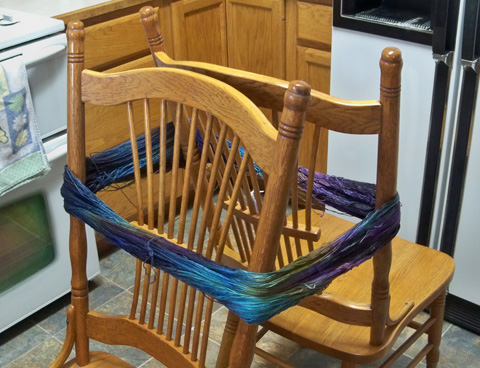
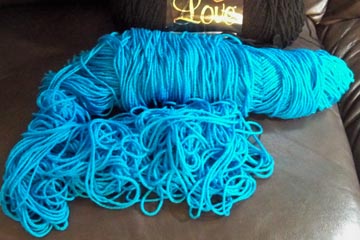
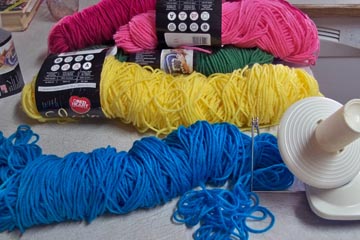
When I was done with my project, I decided to use my handy yarn winder and turn all the leftover skeins of yarn into neat “cakes” so they’d fit better into the box for storage. They’ll also be easier to use the next time I need to design something with these yarn colors instead of pulling my hair out in the middle of the project trying to untangle them! This is how some of the yarns looked before winding them up for storage:
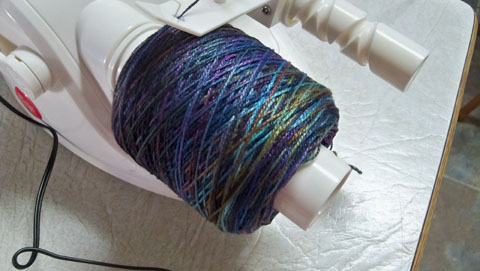
And this is how they looked after winding them up:
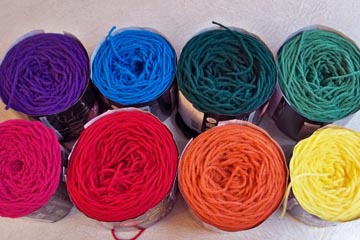
Don’t they look organized and ready to use again? These 8 yarn colors above, plus black, are the colors I used in the project I just completed, which I recently shipped off to the publisher. I can’t show you the project now, but I can show it to you in July or August, after it’s published.
If you’re looking for a way (or 2) for controlling your yarn, I hope you’ll give yarn sleeves and winding the yarn into cakes a try! And if you’re looking for a new/different crochet technique to try, why not try the Fair Isle Crochet technique? It’s actually quite fun and the results are spectacular!
Happy crocheting,
Susan


